For some, planning a self-guided Alaskan hunting adventure can be a little overwhelming, but although there are more variables that can come into play than a lower 48 hunt, the concept and planning process are close to the same. There are three types of self-guided caribou hunts that non-residents can do in Alaska – drop camps, float trips, and hunting the Haul Road. In this article, I will be going over all the details of what I believe is the best option out of those three. With the fewest variables and logistics that have to be accounted for, the drop camp is your best option. I will give you some tips on putting one of these hunts together and touch on most of the variables that can be encountered so there shouldn’t be any surprises. However, it is Alaska and sometimes things just happen.
The first thing on the checklist is making the decision to go. I know this sounds dumb, but most hunters talk about going on a caribou hunt for years before they actually commit to it, and some never end up making that commitment at all. One thing to keep in mind once you’ve decided to go on your self-guided caribou hunt is that most transporters require at least two hunters to go together, so you will want to find a buddy or two who you can stand to be alone with for seven to nine days. This sounds simple, but the last thing you want in your camp after the third consecutive day of rain and fog is a whiner. Alaska can and will have days where you will spend more time in your tent than in the field, so go mentally prepared for these situations.
Now that you’ve got your posse together, you need to find a good transporter, area, and timeframe in which to hunt. The Western Arctic and Porcupine herds are by far the most abundant, with the Central Arctic and Teshekpuk herds being significantly lower in population size but still strong enough to offer general harvest ticket- only hunts. Although herd size should play a role in determining where you want to hunt, your transporter is going to be the more important decision you’ll make. A good transporter with a good reputation and understanding of how far along the migration is or isn’t for the specific herd you will be hunting can make all the difference in the world. Many of the good transporters not only fly hunters and anglers in and out of the bush, but they are often flying scenic flights and contract flights for other agencies in the areas in which you will be hunting. This allows them to have up-to-date knowledge of what is transpiring in the bush when you arrive. This is an inexact science, and since these companies are transporters only, they have limitations as to what knowledge they can provide to hunters. Most good transporters should be good communicators as to what you can expect from them and what they can offer. One thing I like to get from my transporter is an idea of a general area they typically fly hunters into. This can give you an idea of where you should start looking on maps and the ADFG website to see migration patterns through the area. The ADFG website can be a great reference tool to determine a few areas that you can bounce off your transporter when you arrive. The transporter may or may not have landing strips or lakes that he can land on in those areas, but at least you’ll have some ideas and this shows the transporter that you have done your research on the area. This will also allow you to know which maps you will need to download to your phone before arrival.
Many transporters will have gear packages that you can rent, including tents, cots, waders, fishing gear, etc. This is an additional cost to the charter flight to and from your campsite. Some transporters even offer food packages that you can purchase, although most of them are just an assortment of leftover dehydrated meals, peanut butter and jelly, bread, etc. from previous hunts. For hunters who want the simplest and easiest transition from the plane to the field, this is often the best option, but it will cost a little extra, to the tune of $1,000-$2,000, depending on how much gear is needed.
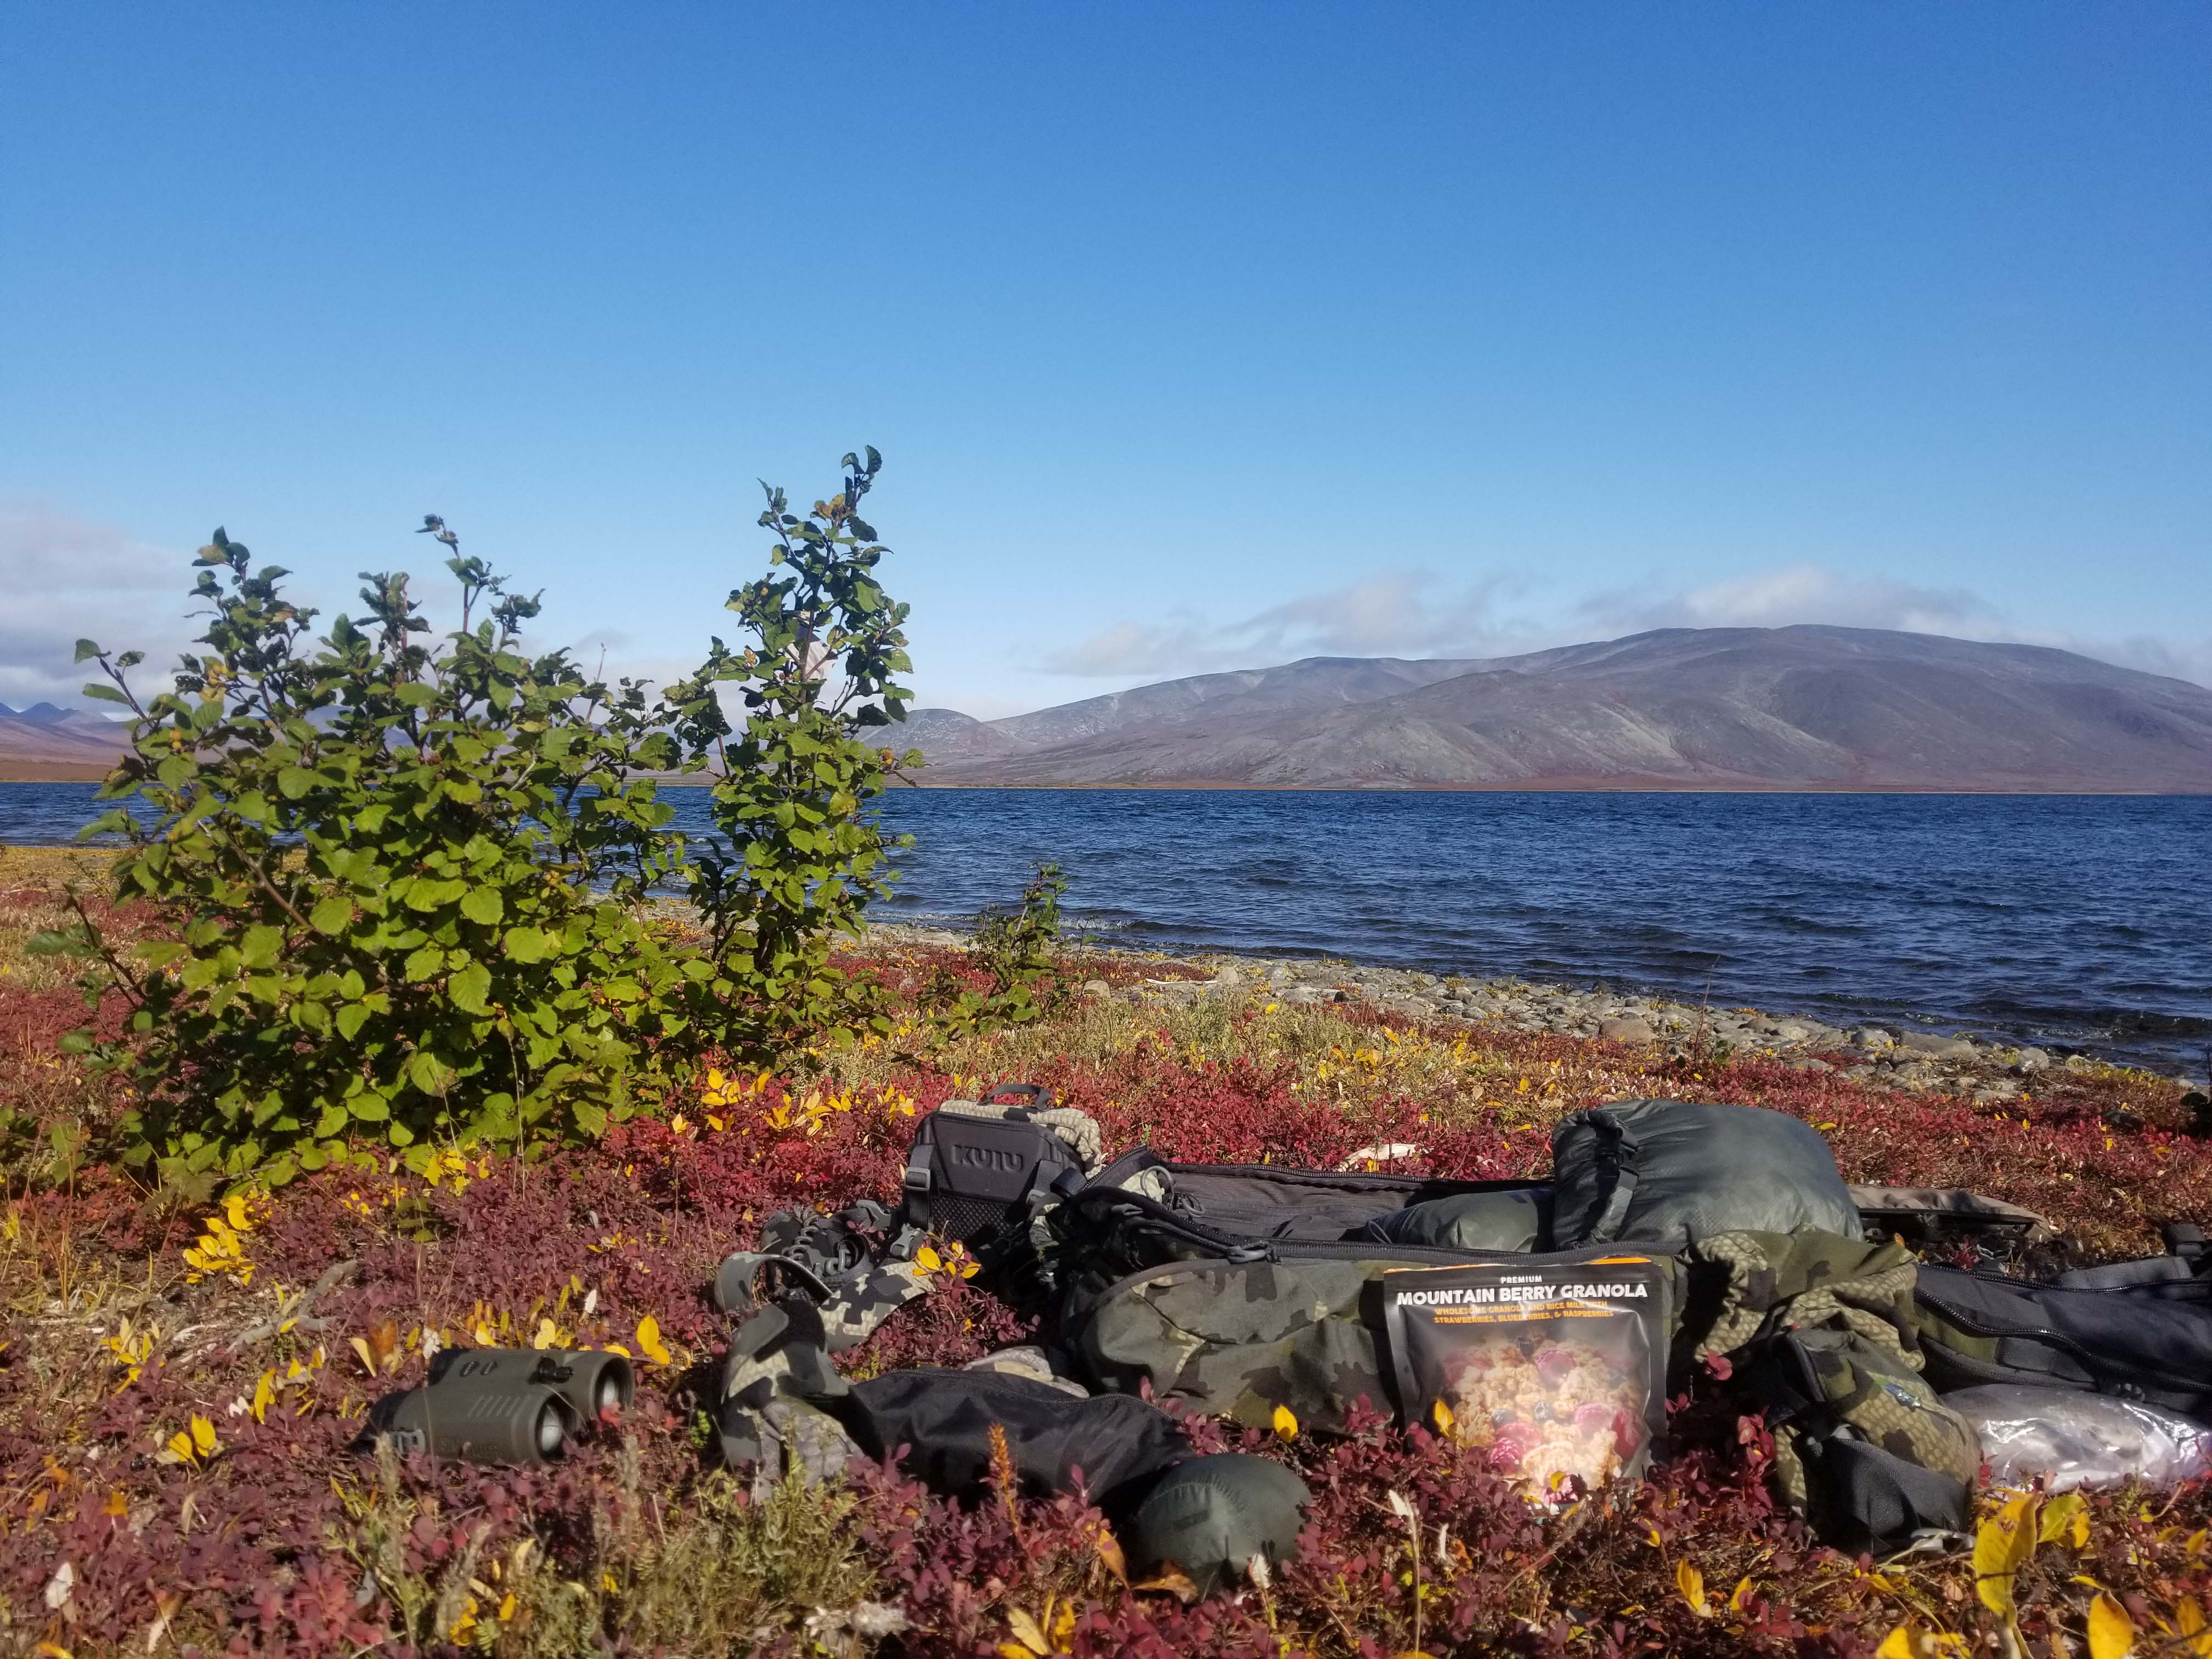
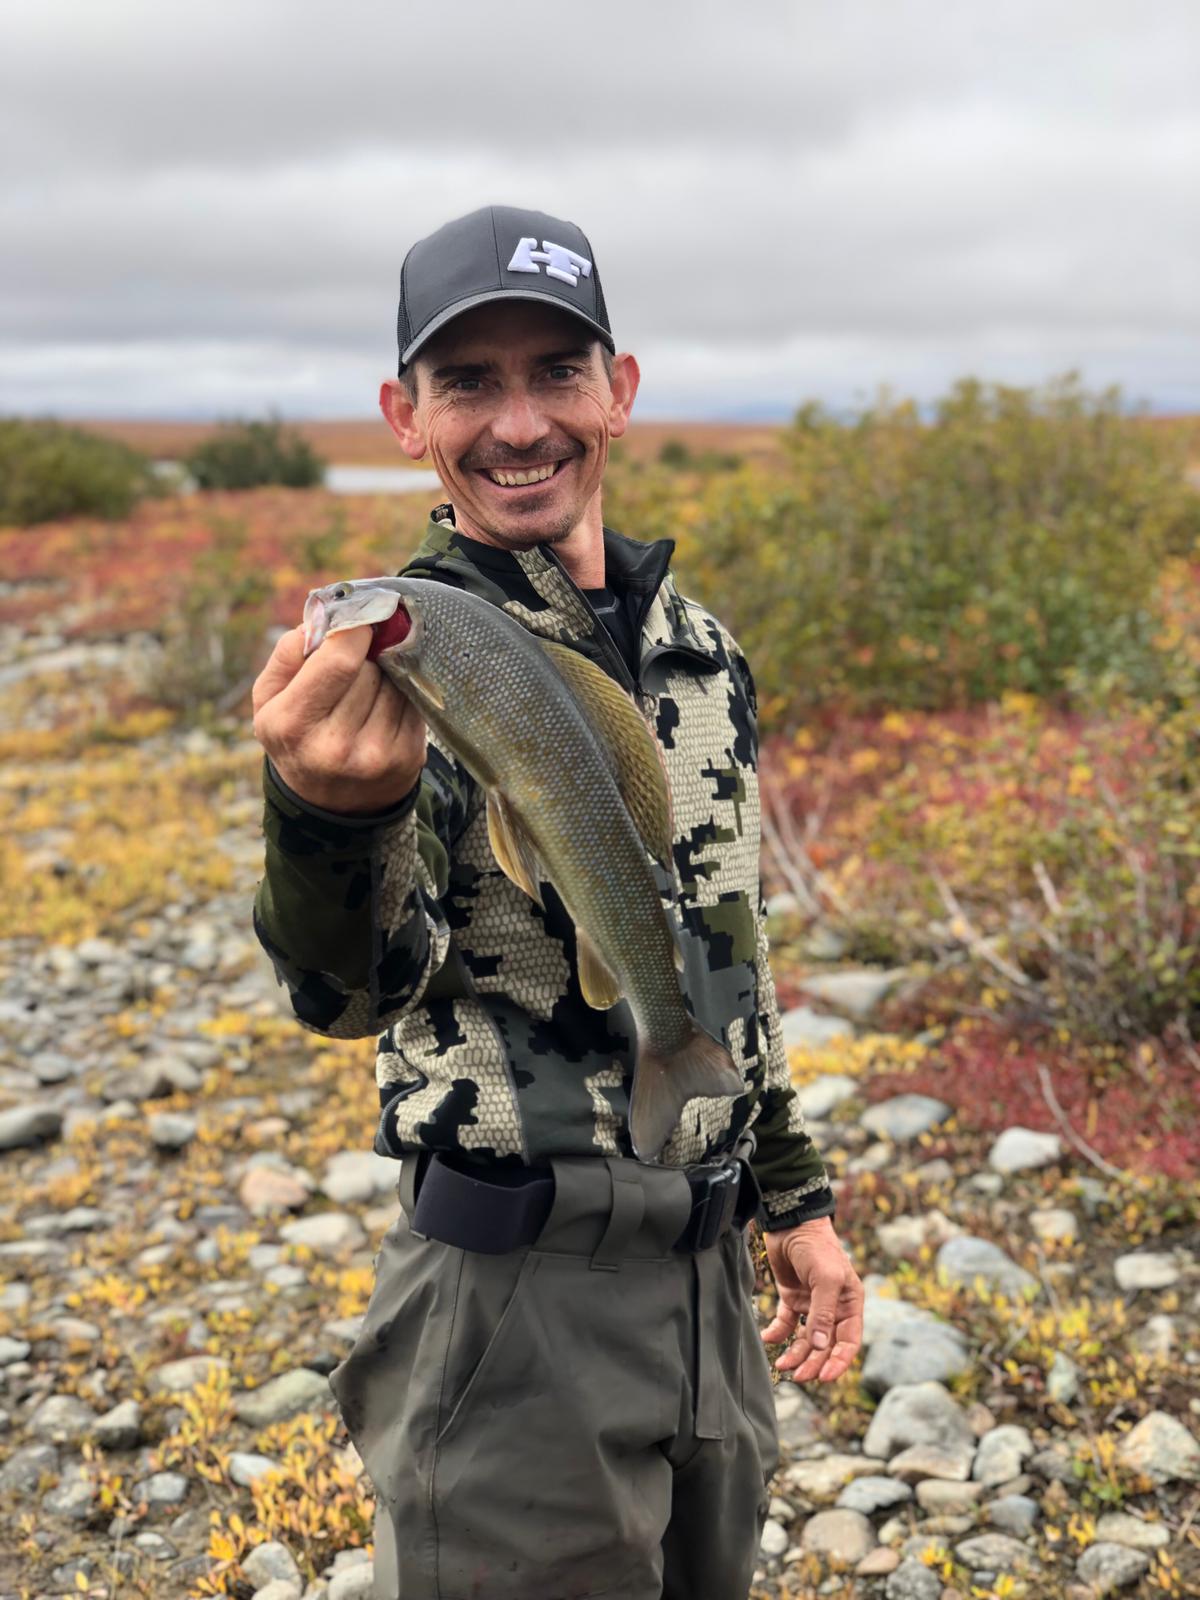
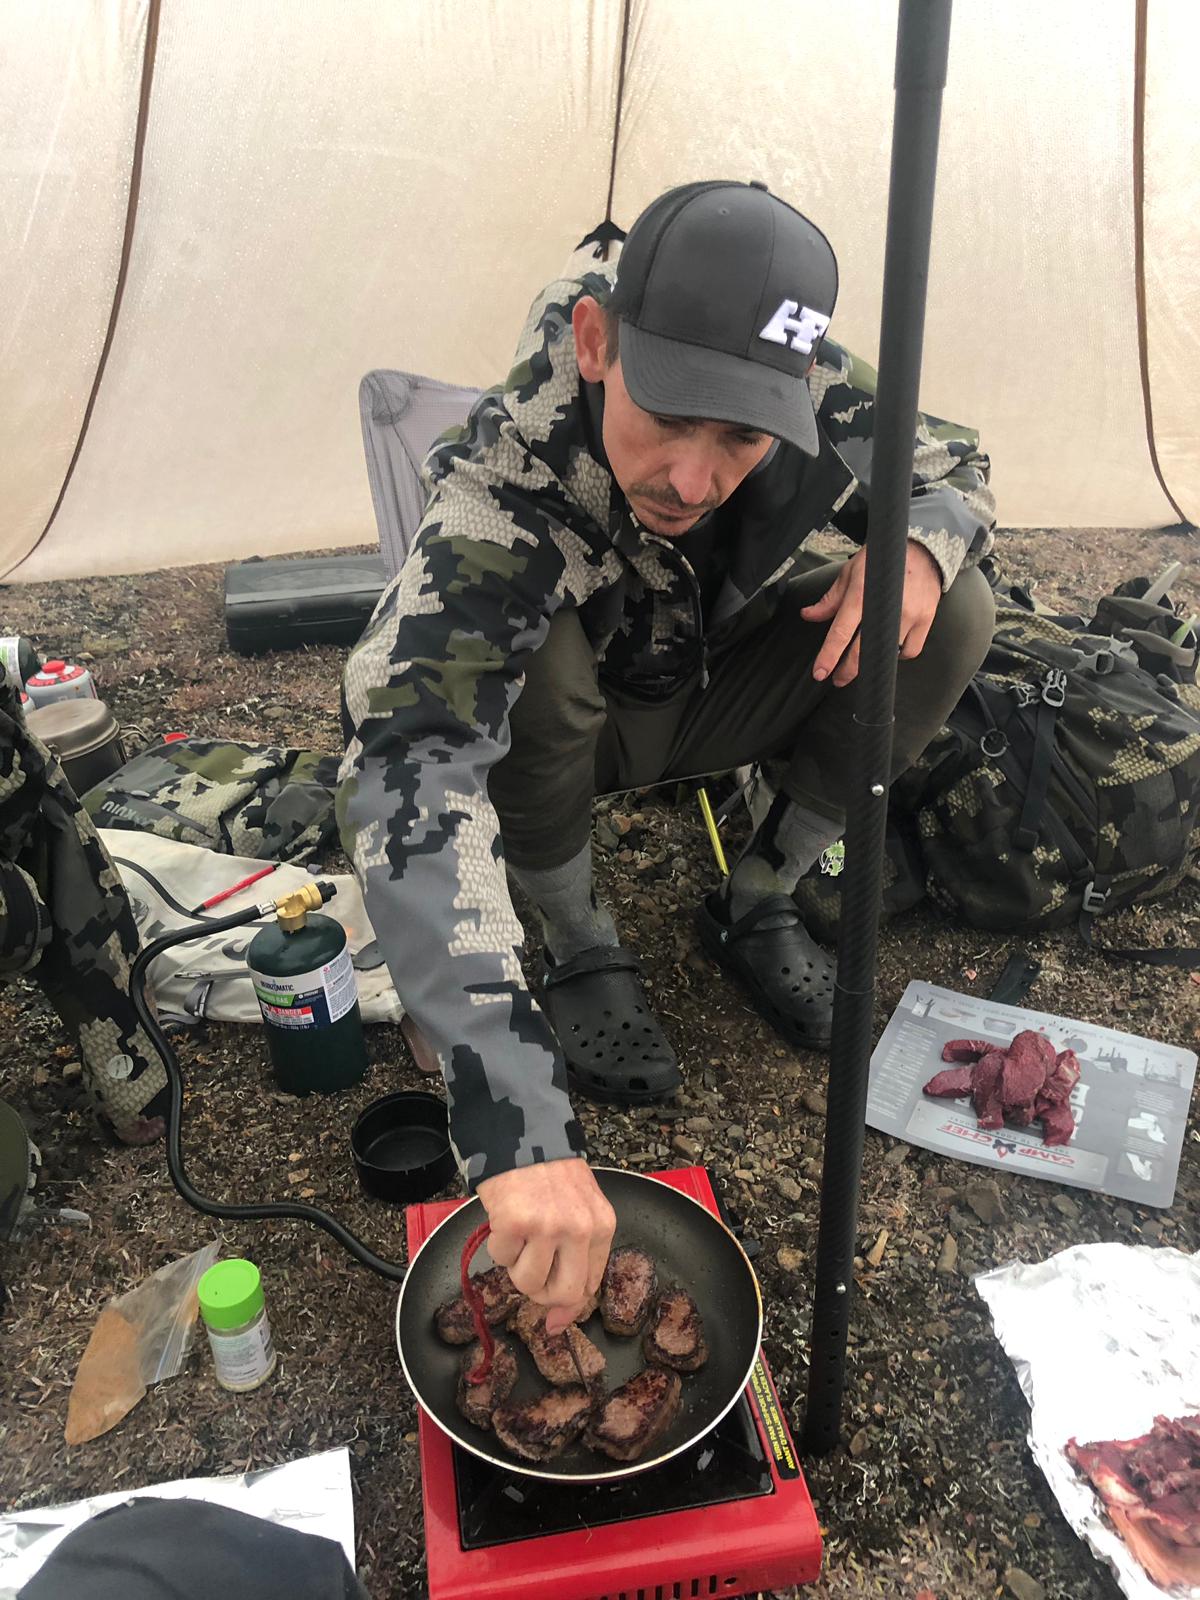
For those who already have most of the required gear (see recommended gear list) for your caribou hunt, you can save that money for taxidermy and/or extra baggage fees. This is the option I prefer as I know my gear, the type of condition it is in, and what it can and cannot withstand. Also, I like to bring my own food as I know what I like to eat and how many calories I will need throughout the day. This leads me to another point. Along with your food, bring some spices and cookware for a caribou or fish fry. I don’t know if I would necessarily short your food prep in anticipation of a harvest or catch, but from my experience, it is highly likely you will have a chance to cook one or the other for a few meals.
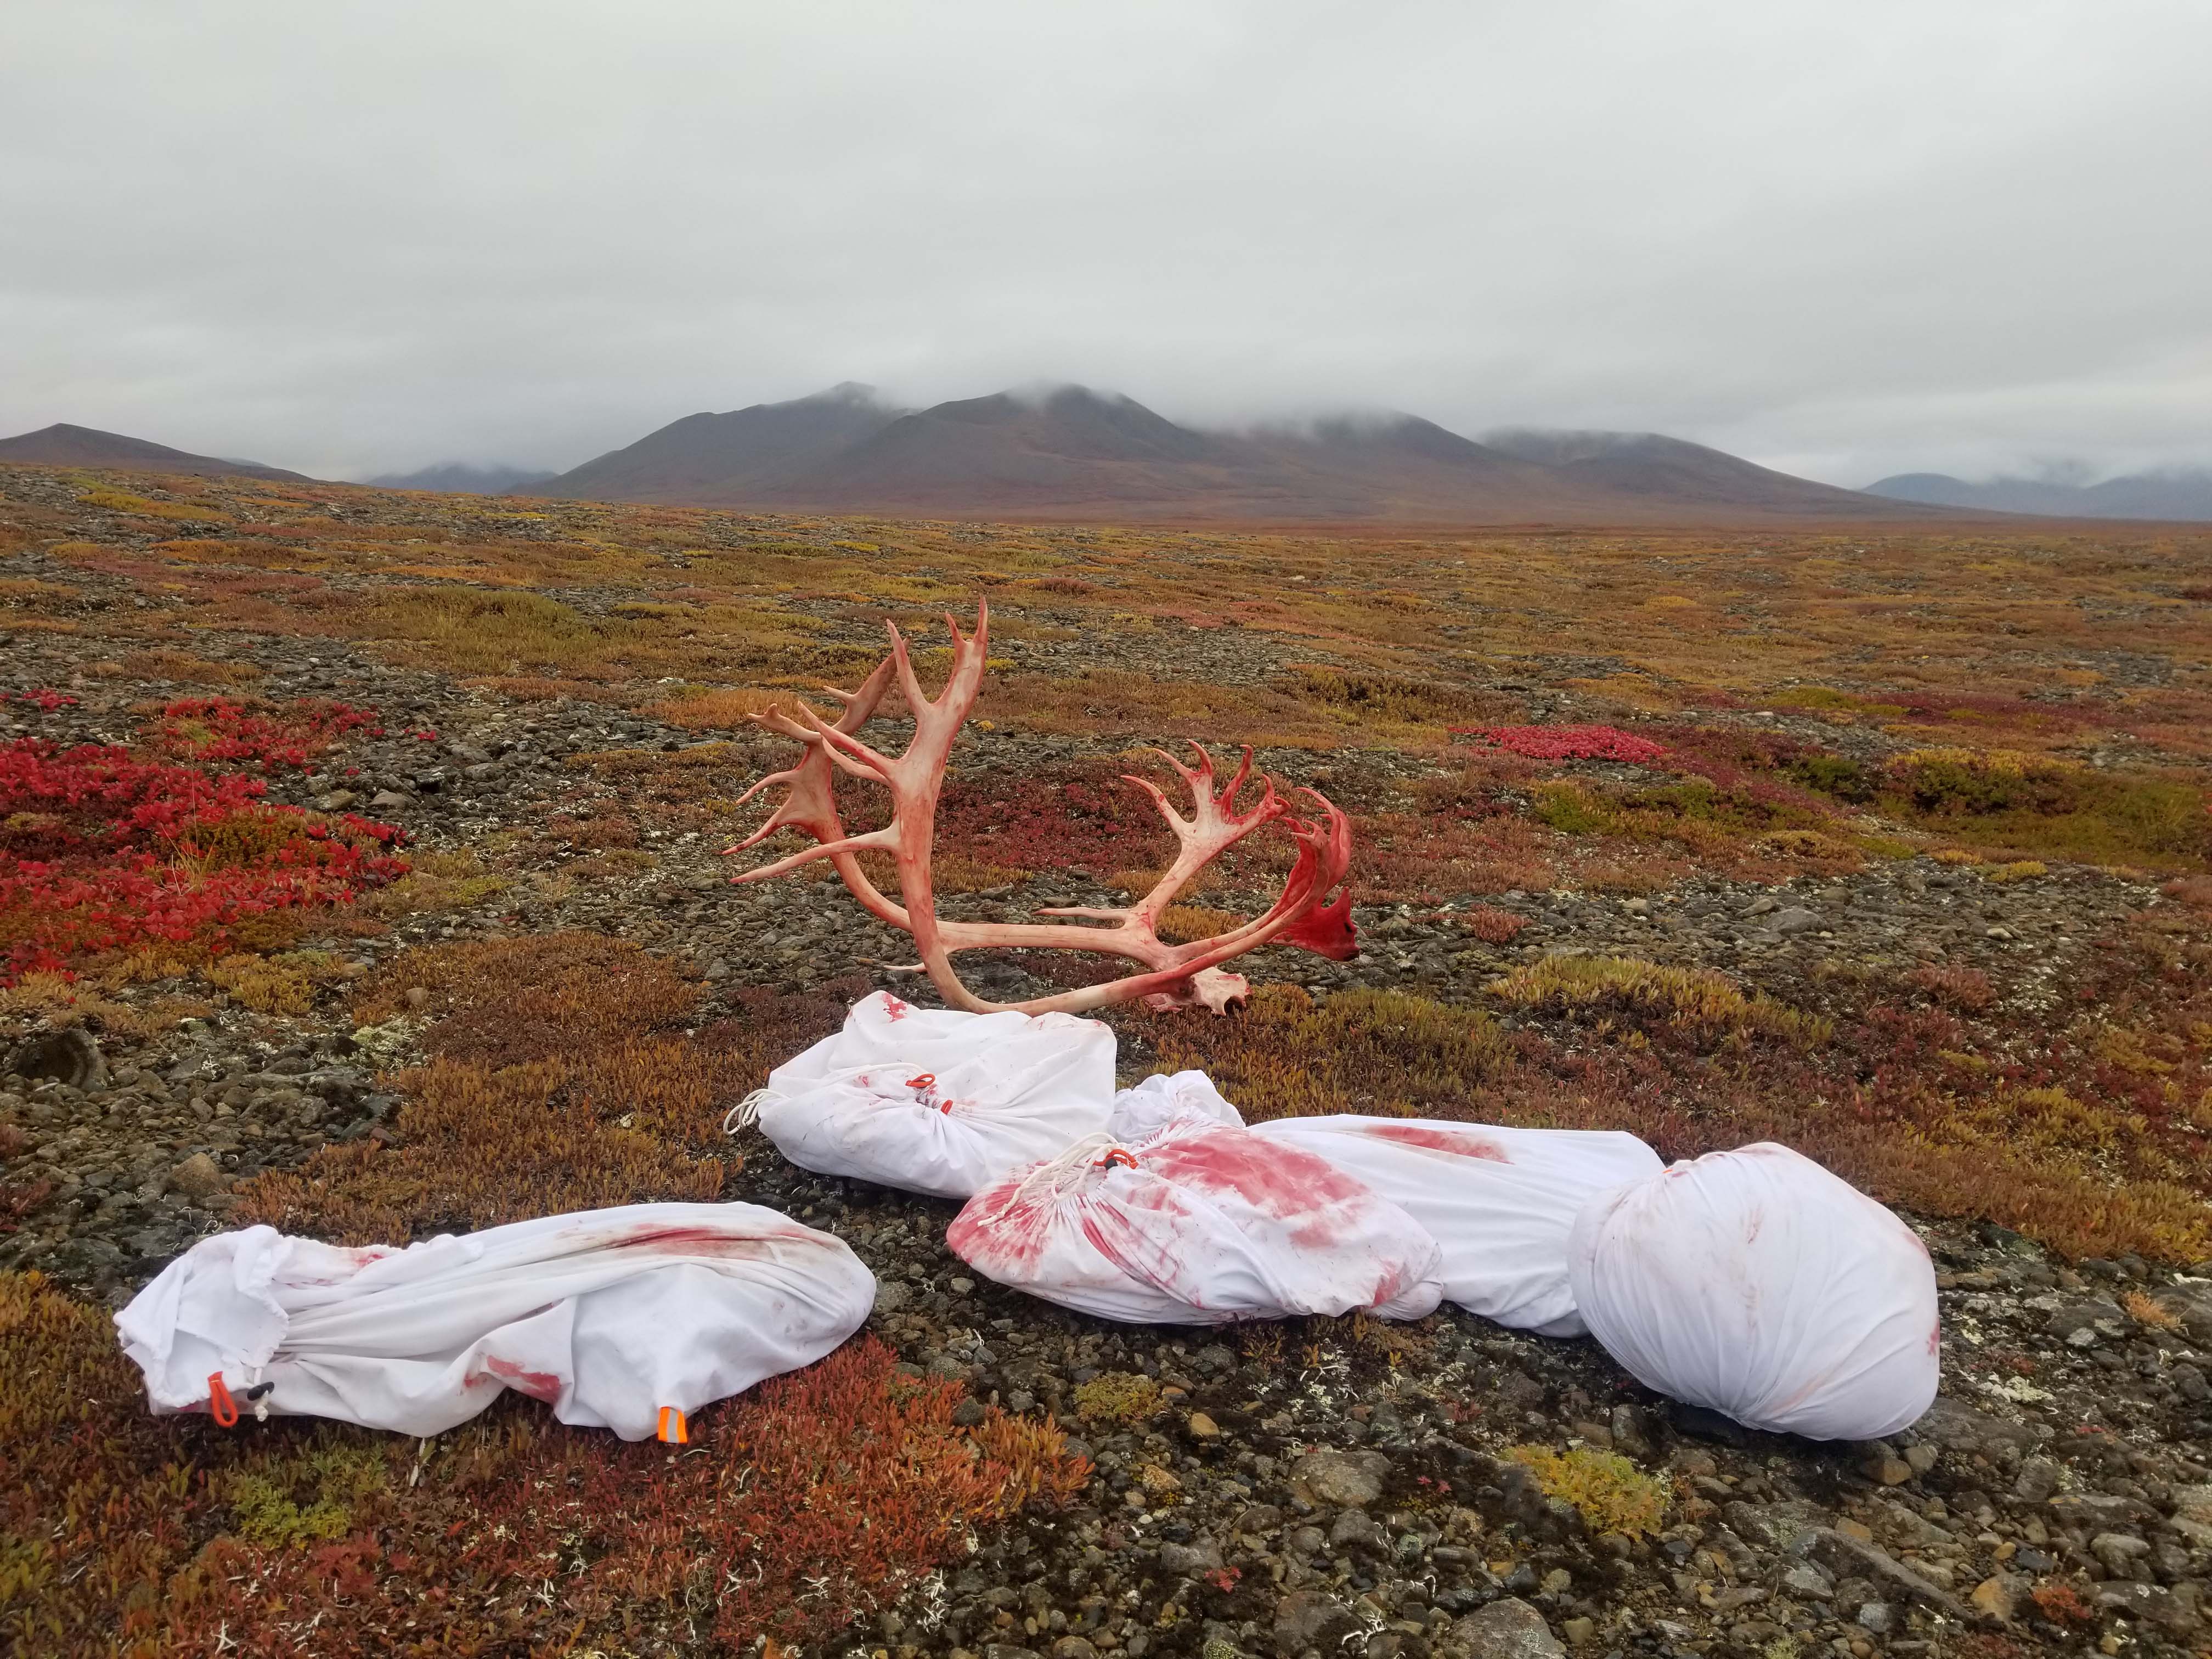
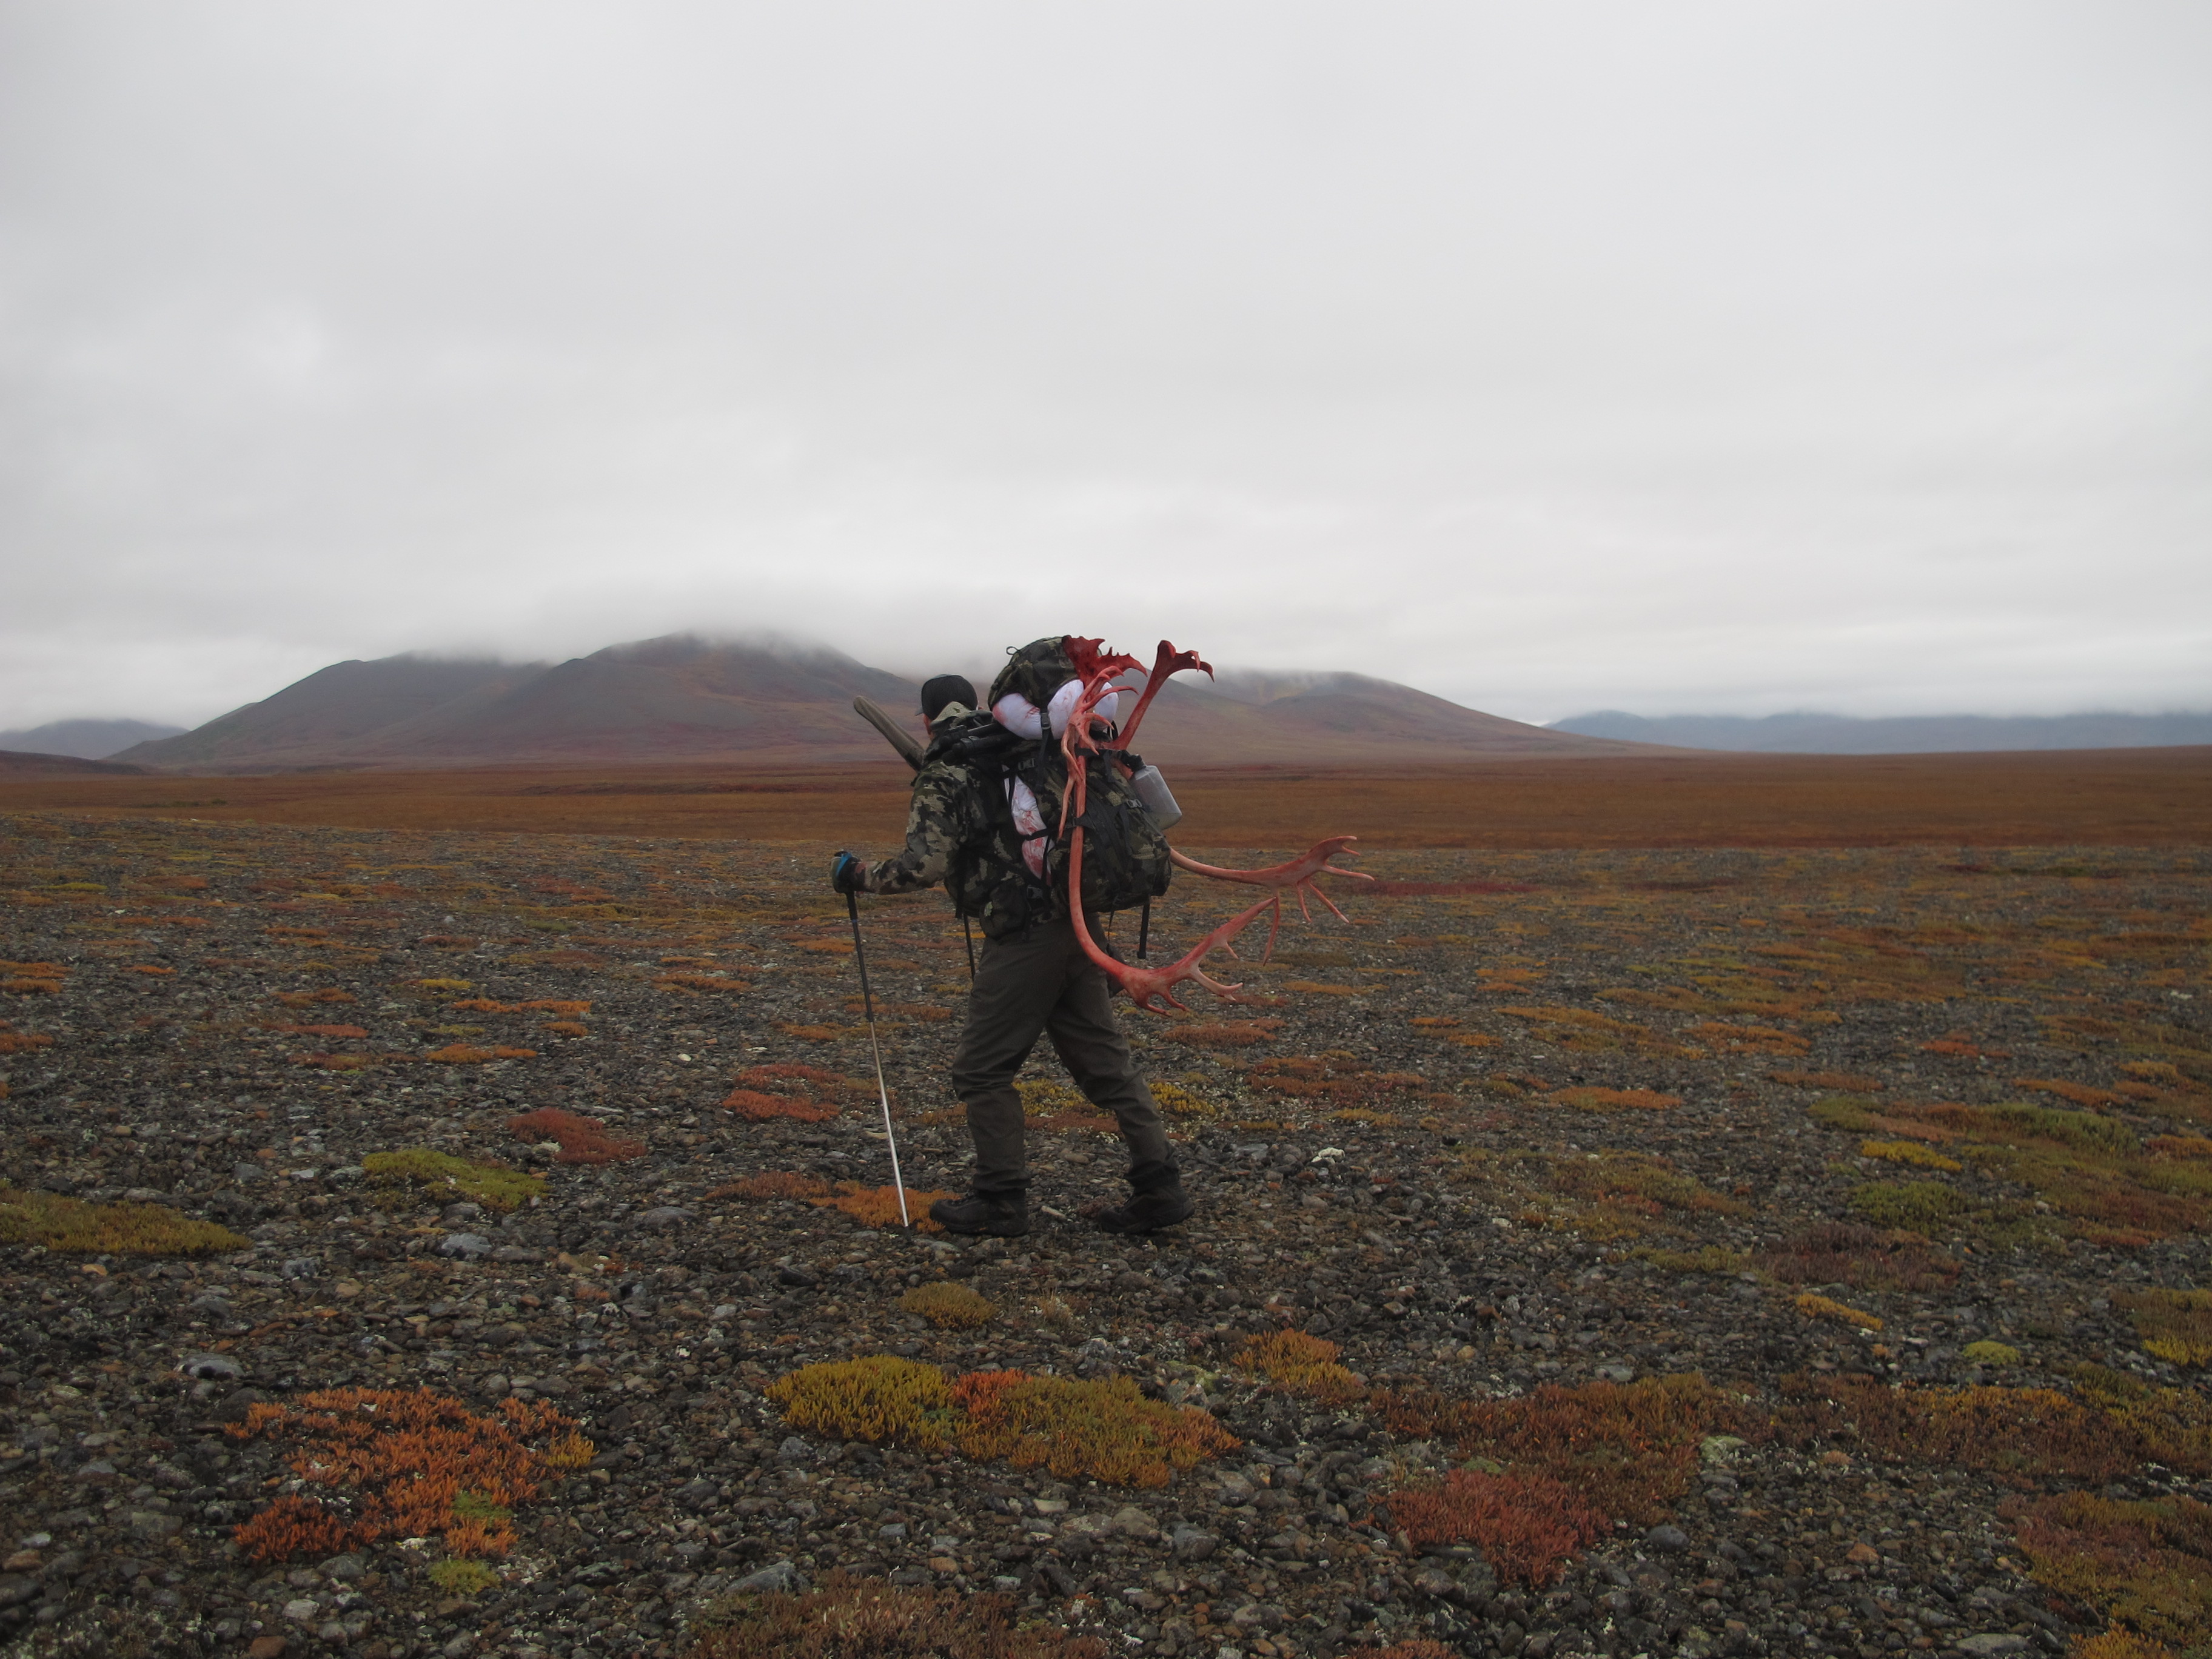
Now that you have your transporter and area lined up, you will want to get somewhat familiar with the area and species you are going to hunt. A great page on the ADFG website that gives you all types of information regarding size of adult male caribou, migration patterns from collared caribou, and links to recent reports regarding Alaskan caribou herds is www.adfg.alaska.gov/index.cfm?adfg= caribou.main. Another important aspect of Alaska hunting is the salvage of meat for your area. Go to www.adfg.alaska. gov/index.cfm?adfg=wildliferegulations.hunting, click on the regulations booklet, and scroll down through to find the chart that tells you what meat must be left on the bone when salvaging prior to October 1st. Almost all units will require you to leave the bone in for both hind quarters and front quarters, but there are a few units, including the more popular units 23, 24, and 25A, that also require you to leave the bone in the ribs. In addition to removing the front and hind quarters and ribs/rib meat, you are also required to salvage all edible portions of the neck, chest/brisket, backstraps, and tenderloins from the field. If multiple trips are required, hunters cannot remove the antlers or cape from the kill site until the last load of meat is to be removed.
I won’t touch on airfare to and from Alaska as it can be different from airline to airline, so if you are interested in this process, reach out to us and we can chat with you about what airlines we have used and the baggage/weapon checking process. However, I would recommend booking a flight early as they will get more expensive and less seats will be available the closer to hunting season it gets.
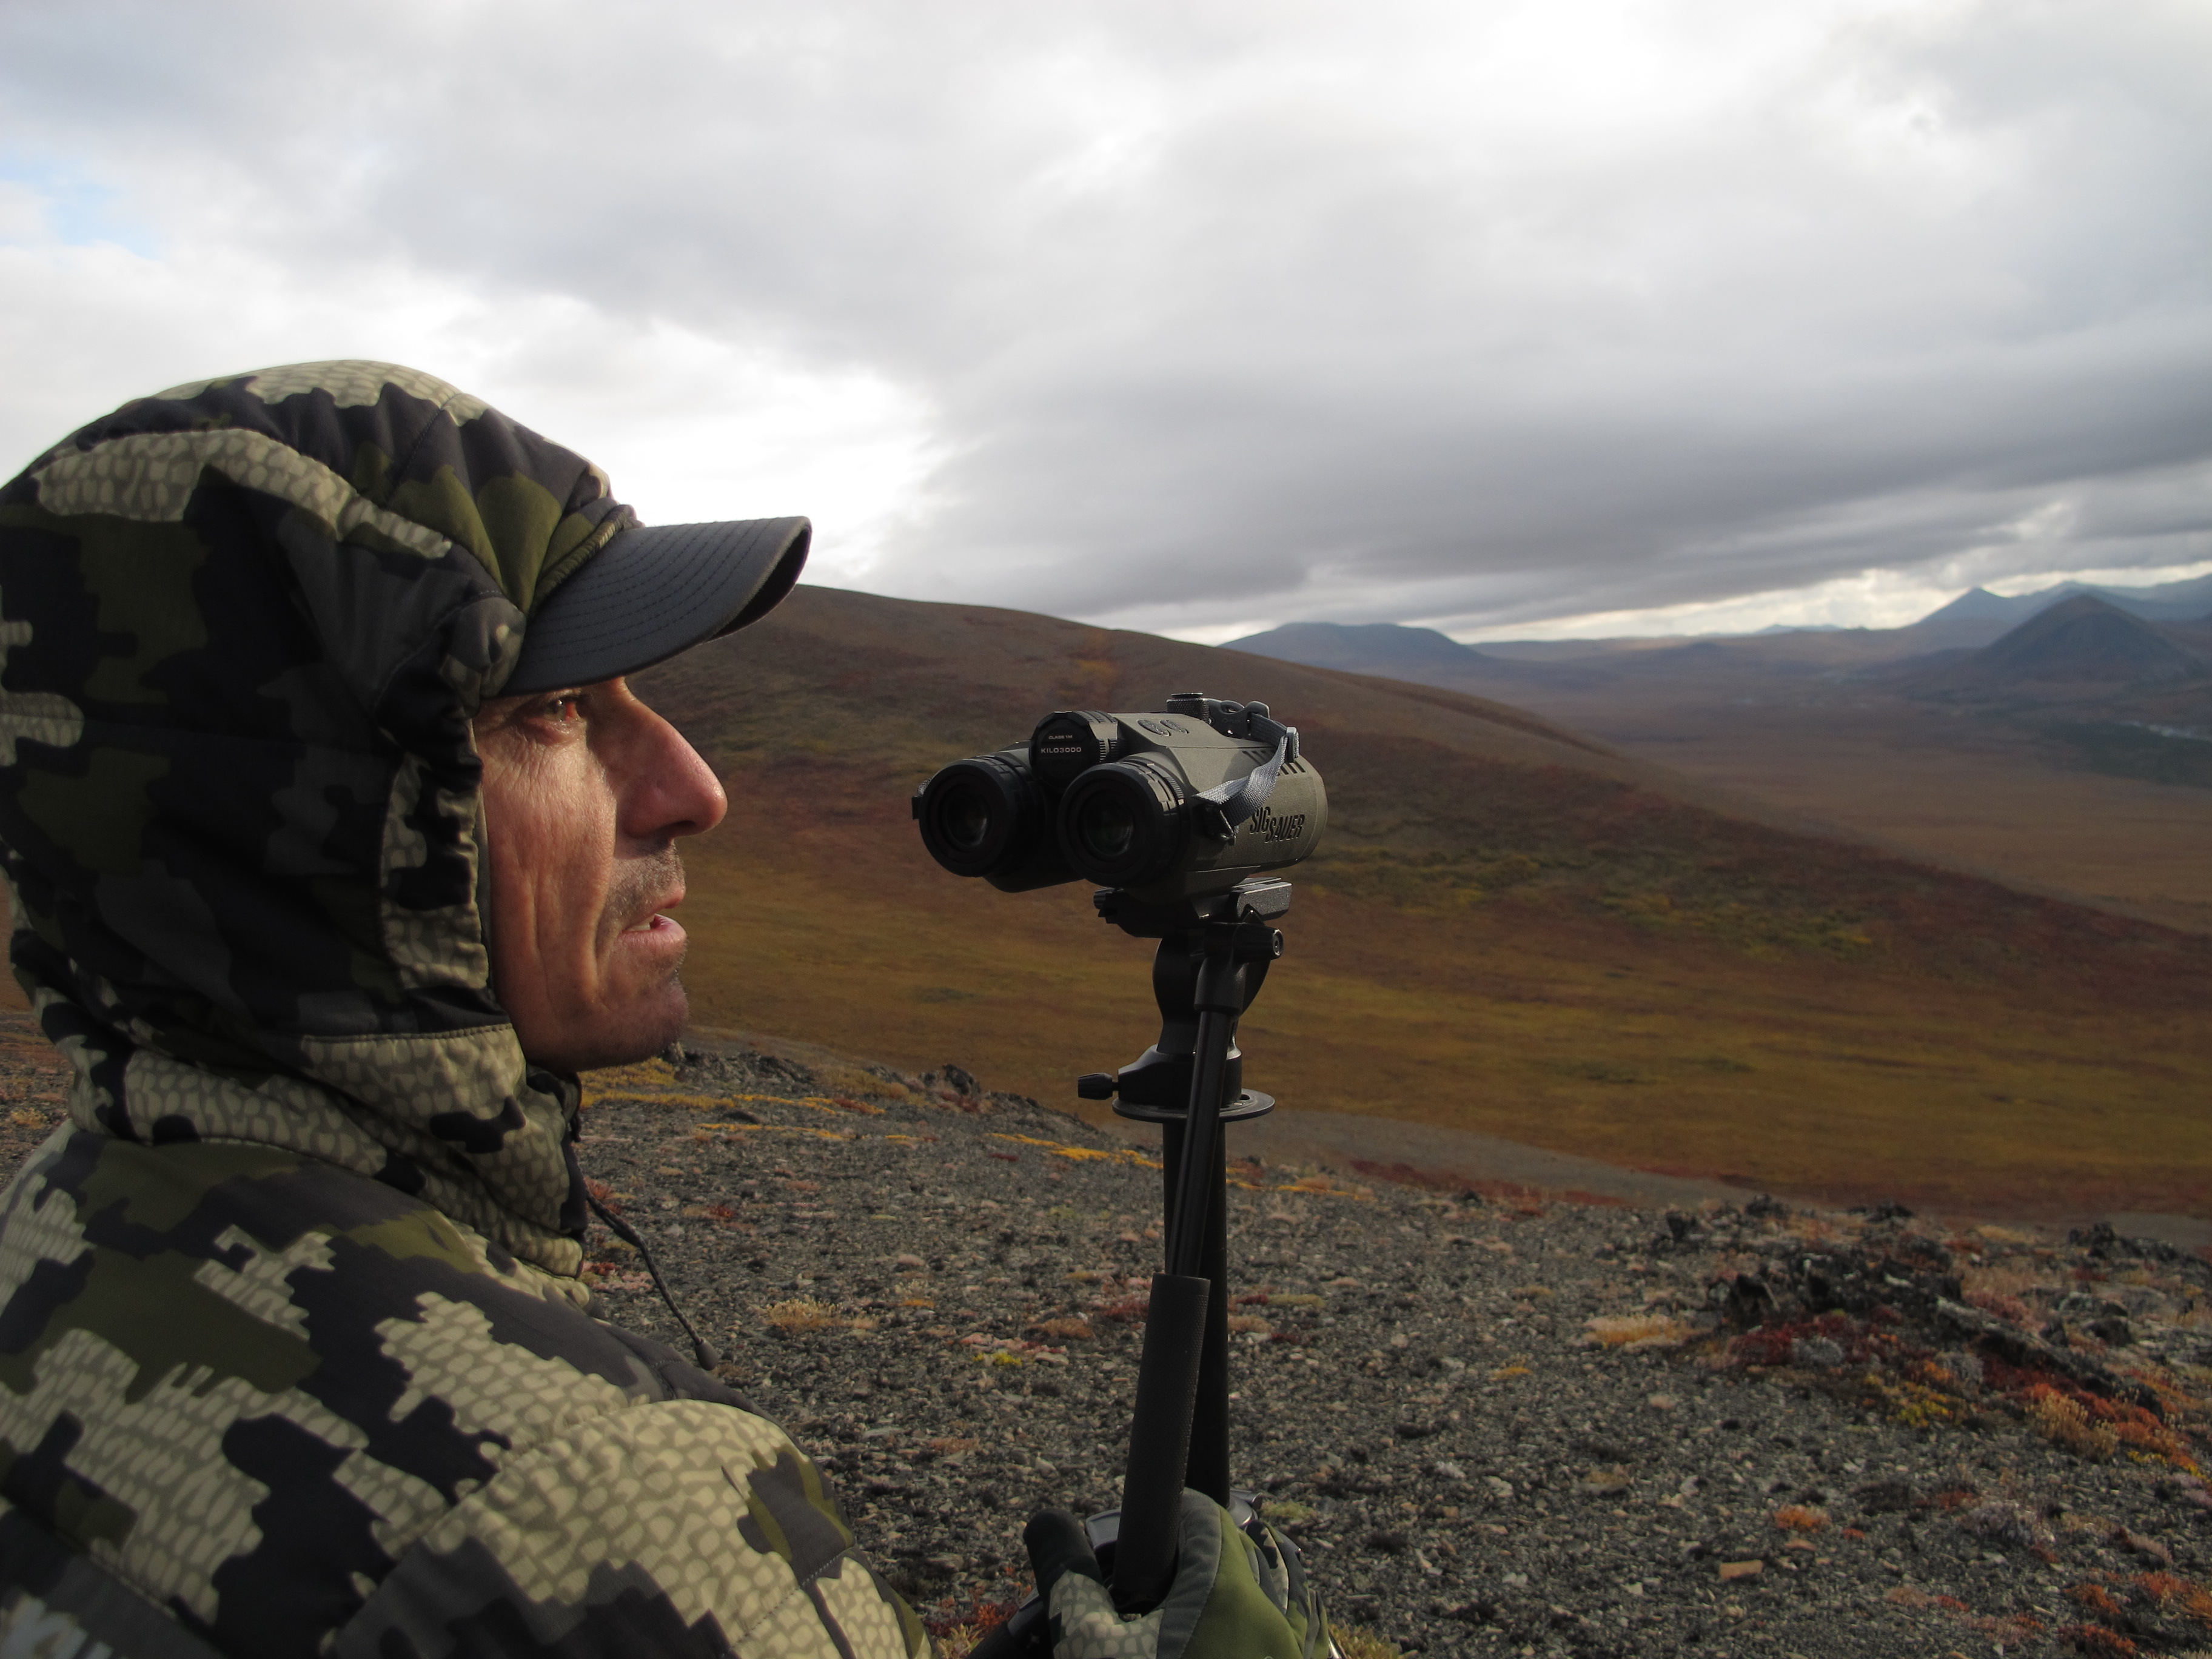
When it comes to caribou hunting, you can make it as physical as you want it to be. Obviously, the better shape you’re in, the more flexible you can be to move around if the caribou aren’t coming through camp. For the most part, you are going to want to prepare for hiking across tundra and over open ridges with scattered swamps and creeks. Hiking across Tundra Tussocks can wear even the fittest person down within a couple miles, so being physically prepared to tackle these is only going to benefit you and make the experience more enjoyable. Along those lines, I will dive into gear. It is wise to bring both waders along with wading boots that are as lightweight as possible as you will most likely be hiking in these all day some days. If you are dropped in an area that has some hills and rocky benches to walk on, you will want some regular Gore- Tex hiking boots along with gaiters to cover ground with a little more comfort. Good optics are a must. You will often be able to glass further than you can physically get to in a day, but if the caribou are headed your direction, you are going to want to get in a position to head them off before they get too close.
Next, you are going to want to have some quality raingear that will hold up over days and days of rain. Oftentimes, you won’t ever take off your raingear outside of climbing in your tent, so the better the raingear, the better the hunt. Without getting bogged down in the weeds on clothing selection, I will just say that I found synthetic layers to be far more beneficial as I was able to dry them out easier than wool layers. The best clothing you can bring that will dry quickly and retain heat when wet will benefit you the most. Average temperatures will depend on the time of year you are going to be there, but it is safe to plan for sub 30 degree temps at night and 40-50 degree temps during the day. I have included a list of gear and clothing that I took with me on my drop camp hunt to give you an idea of what is needed.
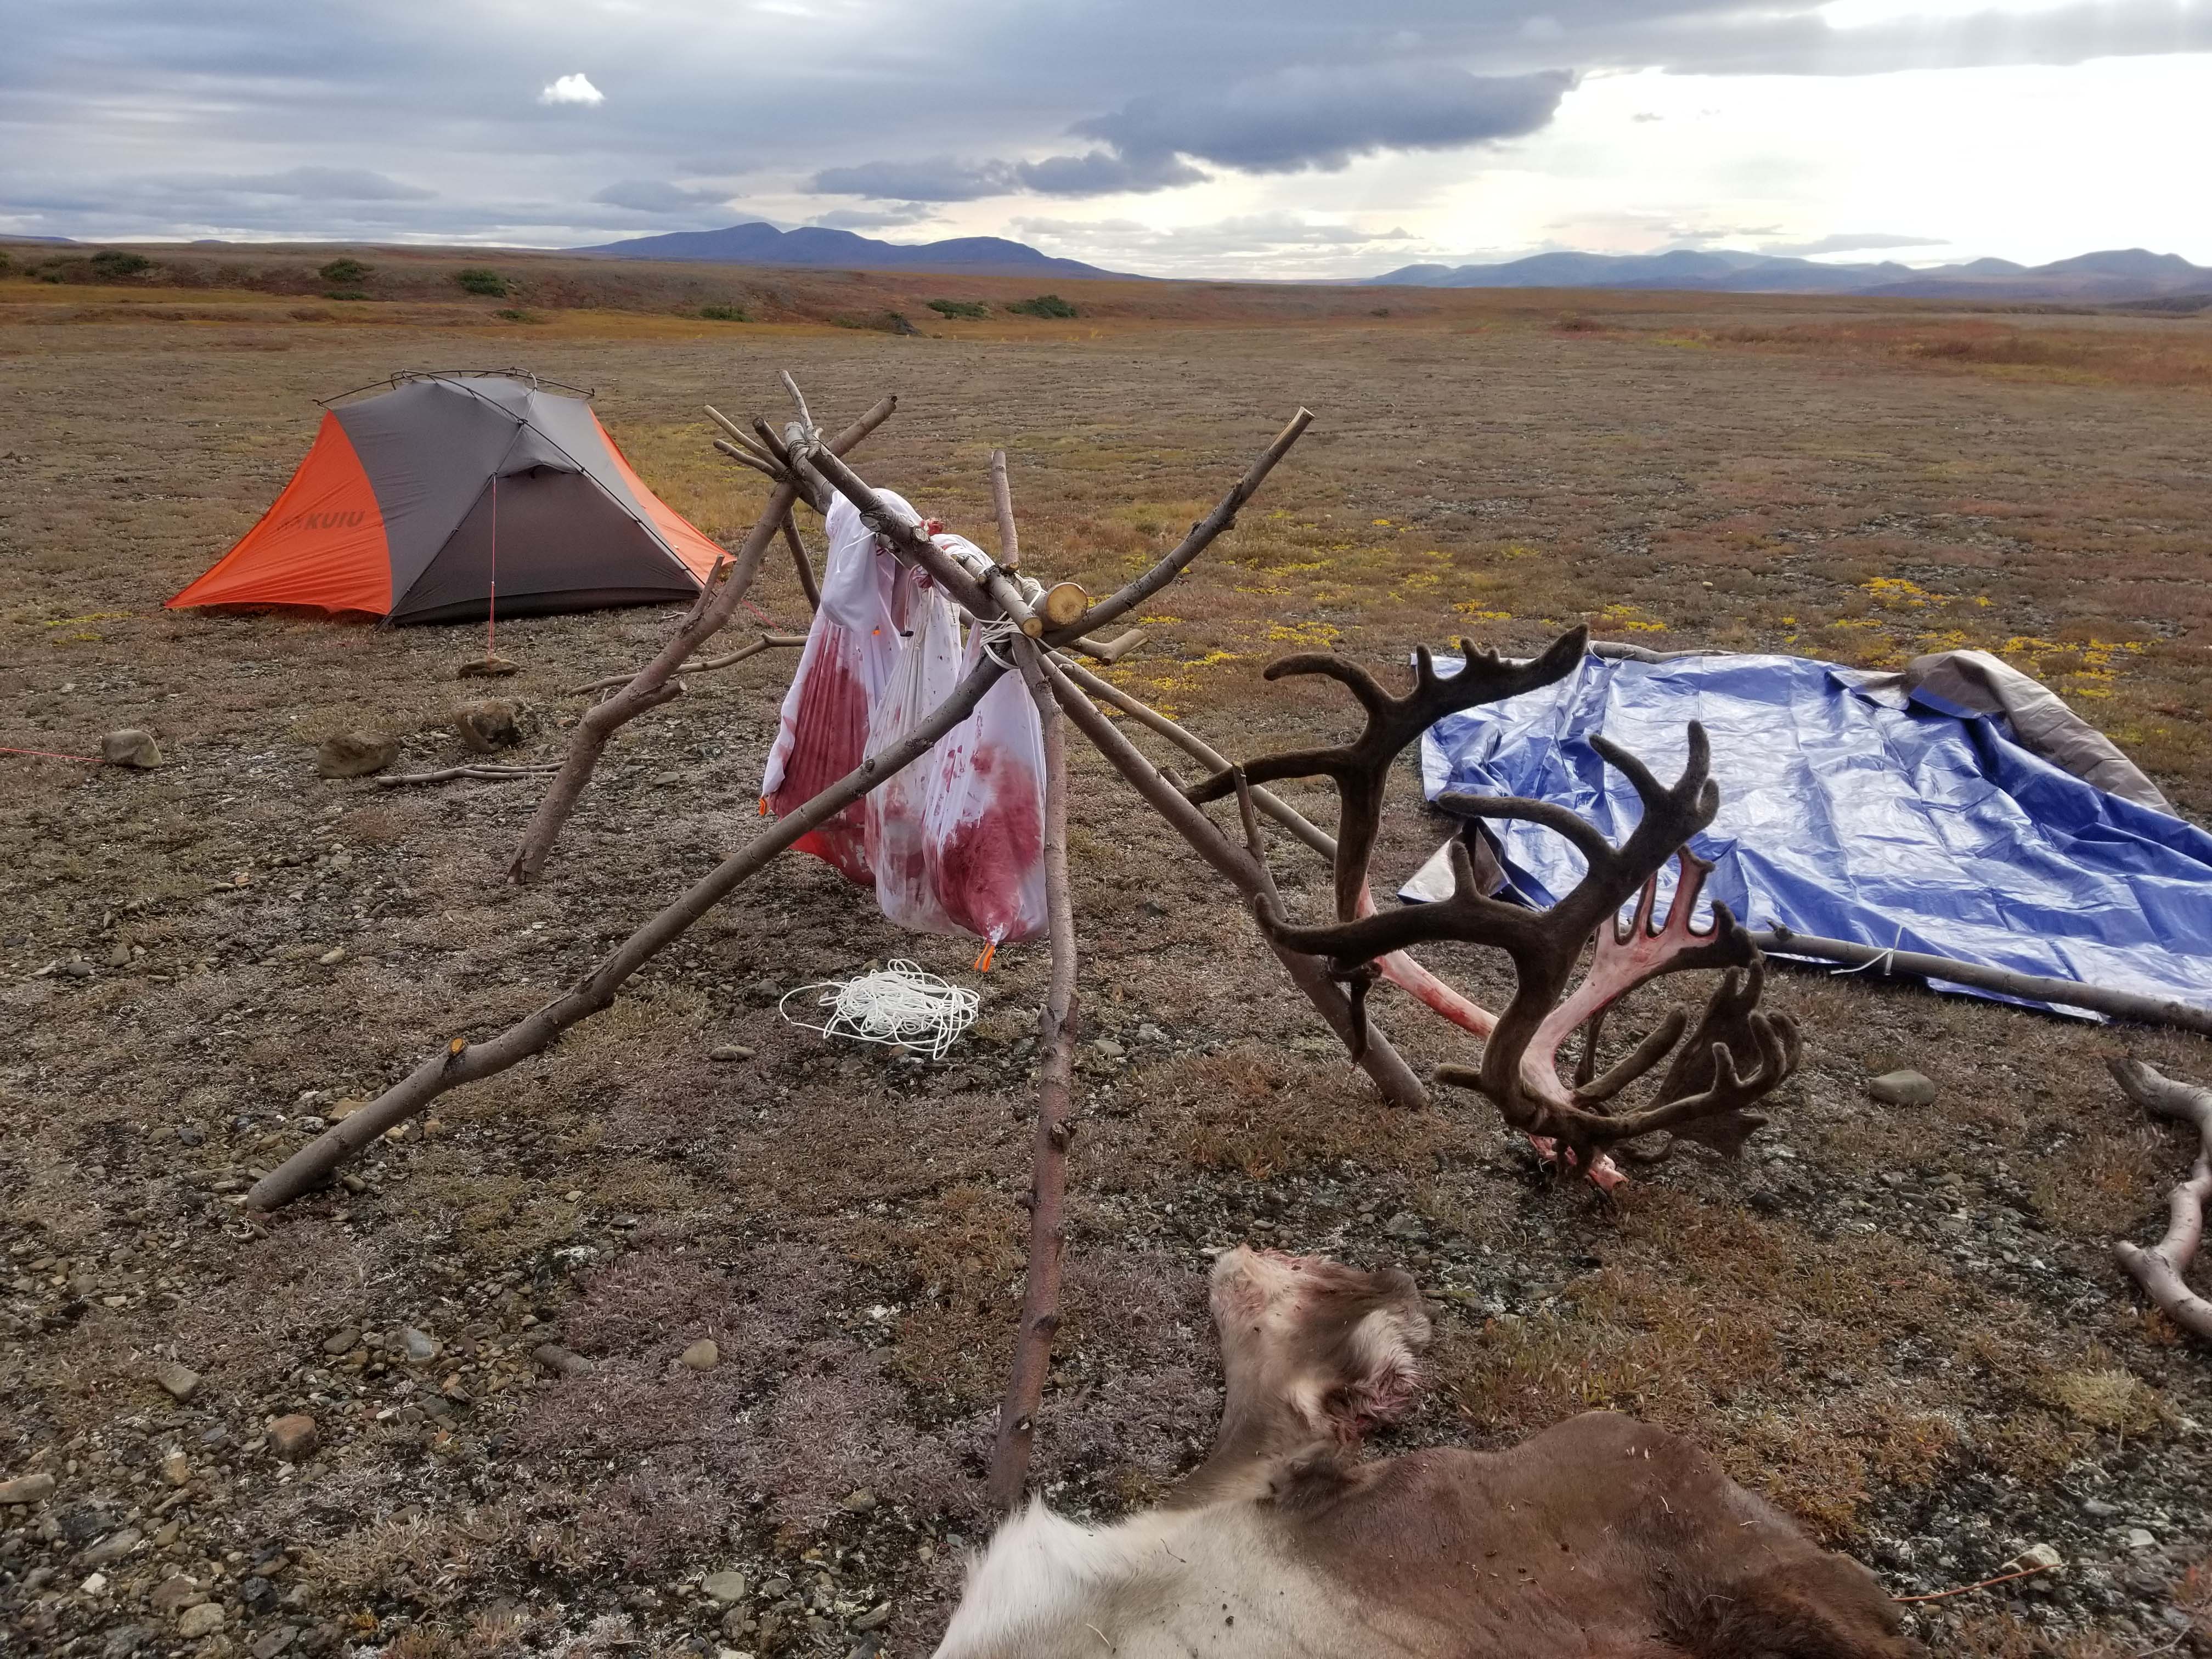
Another important aspect to the gear you take with you is weight. Most transport services have a weight limit for both you and your gear, depending on the aircraft flying you out and picking you up. Most limits are somewhere between 70 and 100 pounds of food and gear along with your weapon. I modified my backpack gear and food list a little bit to accommodate the additional items I would need for Alaska. This allowed me to keep my gear on the lighter side so I could bring some additional items that came in handy, like a 10'x12' or, better yet, a 12'x20' tarp for multiple situations. They can be used for windbreaks on open ridges or extra protection over your tent or shelter from extensive rain. I always have one tarp dedicated to putting the meat under to keep it as dry as possible, a breakdown pack saw for sawing limbs off of trees and sawing through rib cages and skull plates, and plenty of P-cord. There are plenty of situations that will require P-cord. We ended up lashing a few cut alder branches together to make a small lean to hang our meat from, as well as using a stretch of it for a makeshift cloth line in our tipi tent.
A small single or double burner stove that uses small propane bottles is a must for cooking caribou or fish as well as warming tortillas. One quick tip is to buy your propane, paper plates, paper towels, etc. in advance from the local store in the town you will be flying out of and have it delivered to your transporter. Most of these small towns will start to run out of items later on during hunting season, and it is not as simple as going to another store down the road and getting them. One item that was worth the weight for us was the addition of a tipi tent that was a little bigger than our tents we used for sleeping. We used this tipi tent to cook in, converse, and dry clothes out. We were able to keep a lot of our hunting gear in the tipi so we didn’t have to have wet raingear, clothes, and backpacks scattered all over our sleeping tents.
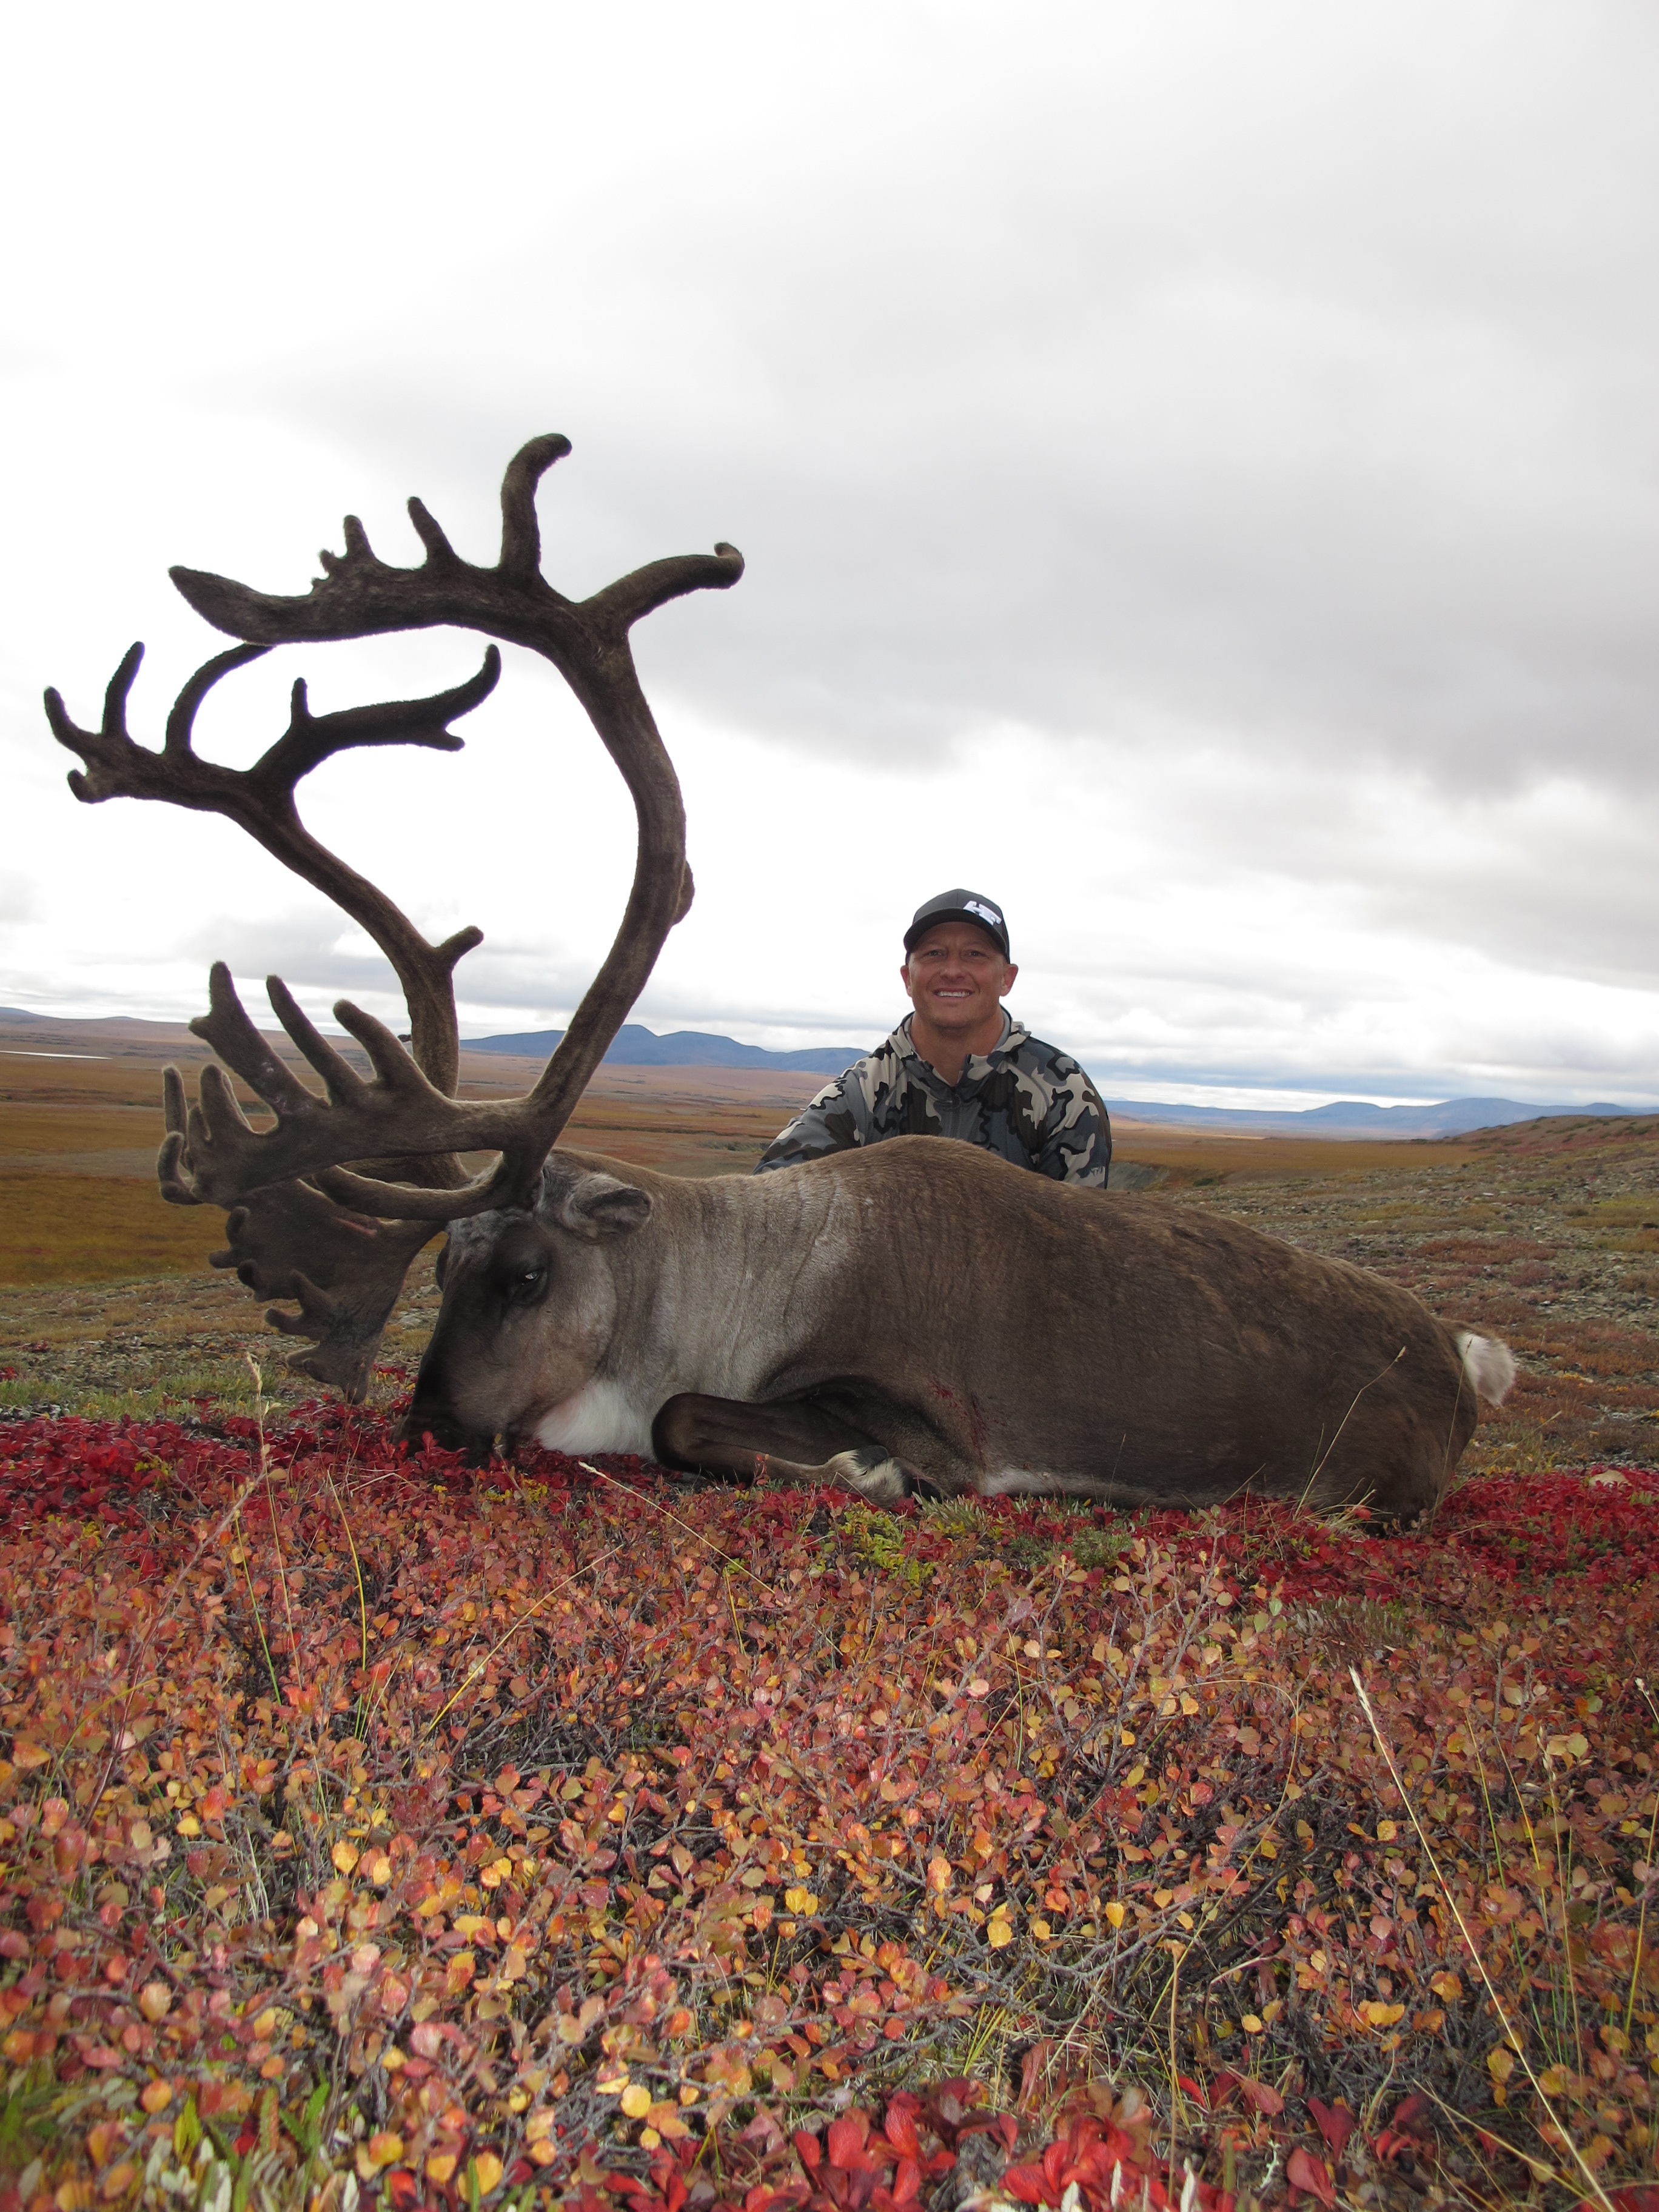
If you are successful in harvesting a caribou, you will have to decide how much meat you will be taking home with you. Most transporters have connections with game meat donation agencies, and there are plenty of locals who depend on and greatly appreciate any and all meat and fat they can get if you choose to donate some or all of it. Getting your meat home will require you to put it in wax boxes that are close to airtight or some kind of cooler that is airtight for commercial airline transportation. You cannot have any blood leaking from your container in order for it to go on the airline. One tip when dealing with velvet antlers is that if your velvet is slipping at all in the field, it is best to strip off all of it. It will be bloody, but a simple drenching in the river or creek can clean them up and rinse the blood off. If you are hunting during the first of August, you might have a chance of saving the velvet, but anything later than the 15th and it might be better to just strip it. Boxing up antlers will require a little work with wrapping the tips in some kind of cardboard and/or foam so they do not get chipped or poke through the box en route to their final destination. Oftentimes, you will be required to split the skull of your caribou in order for it to fit inside a box for transportation.
Drop camp caribou hunts can range from $2,500 to $4,500, with some transporters having extra charges for things like caribou removal from the field, additional flights for gear, gear rentals, etc. Flights to and from Alaska are going to be around $1,000-$1,400 per person for full- priced, non-refundable round trip tickets. Extra baggage fees can vary but will be somewhere close to $100-$200 extra, depending on the amount and weight of extra bags. Miscellaneous costs for items that will be purchased in Alaska, like butane/propane bottles, meat boxes and coolers, and boxes for antlers, can vary but shouldn’t exceed $200-$300. It is also nice to tip your pilot a couple hundred dollars or so if he did a good job. Assuming you have all your own gear and do not need to purchase any, you will be looking at around $5,000 for a self-guided caribou hunt in Alaska. Typically, a fully-guided caribou hunt is going to cost north of $8,000 just for the hunt and you will still have to account for flights in and out of Alaska as well as shipping cost.
I did not touch on the “how-to” or the actual hunt itself and why I prefer drop camp hunts over float hunts or the Haul Road hunt. If you want more insight into those aspects of the hunt, you can listen to me discuss it with Austin Atkinson on the Built to Hunt podcast, episode #80. This format allowed me to dive into the actual hunt itself and expand on hunting strategies and how my drop camp Alaska caribou hunt unfolded.