Shelter condensation – you never invite it to come along on a high mountain adventure, but somehow it always knows where to find you. It’s as if your onX Hunt waypoints have been hacked and your position compromised. Navigating the darkest of moonless nights without a light source, it still finds you and settles in without ever having made a sound. At times, its presence can be quite annoying and even overwhelming, moistening the footbox of your sleeping bag or perhaps every layer of clothing you have as you prepare for the day ahead in the early morning light. Fortunately, there are several ways to mitigate this unpleasantness to provide yourself with the upper hand in a given landscape. Here, we’ll take a closer look at proper site selection, ventilation, and shelter design so that your tomorrows begin as dry as possible.
WHAT IS CONDENSATION?
Condensation is the process by which water vapor becomes liquid. It’s the opposite process that is evaporation, where liquid water becomes a vapor. Generally, condensation happens by one of two ways – either the air is cooled to its dew point or it becomes so saturated with water vapor that it simply cannot retain any more water. It’s also important to note that warm air is capable of holding more water vapor than cool air. When it comes to condensation within a shelter, such as a tent or tipi, it is the cooling of warm, moist air that is the culprit. As it cools near the outside face fabrics of the shelter, the water vapor condenses and liquid moisture regretfully begins to bead within.
WHERE DOES THE MOIST, WARM AIR COME FROM?
The culprit of condensation within a shelter, that being the warm, moist air specifically, is generated by an accomplice that is the occupant (that’s you) and their various activities. Congratulations, you are partially to blame for the moist unpleasantness you sometimes experience in the field! From the warm air exhaled with every breath you take to the radiant heat from your body itself, every aspect of the warmth we naturally possess or purposefully seek to sleep well at night contributes to the beads of moisture that linger overhead. And sometimes quite quickly too! Now, let’s see about lessening the likelihood of condensation through knowledge and technique.
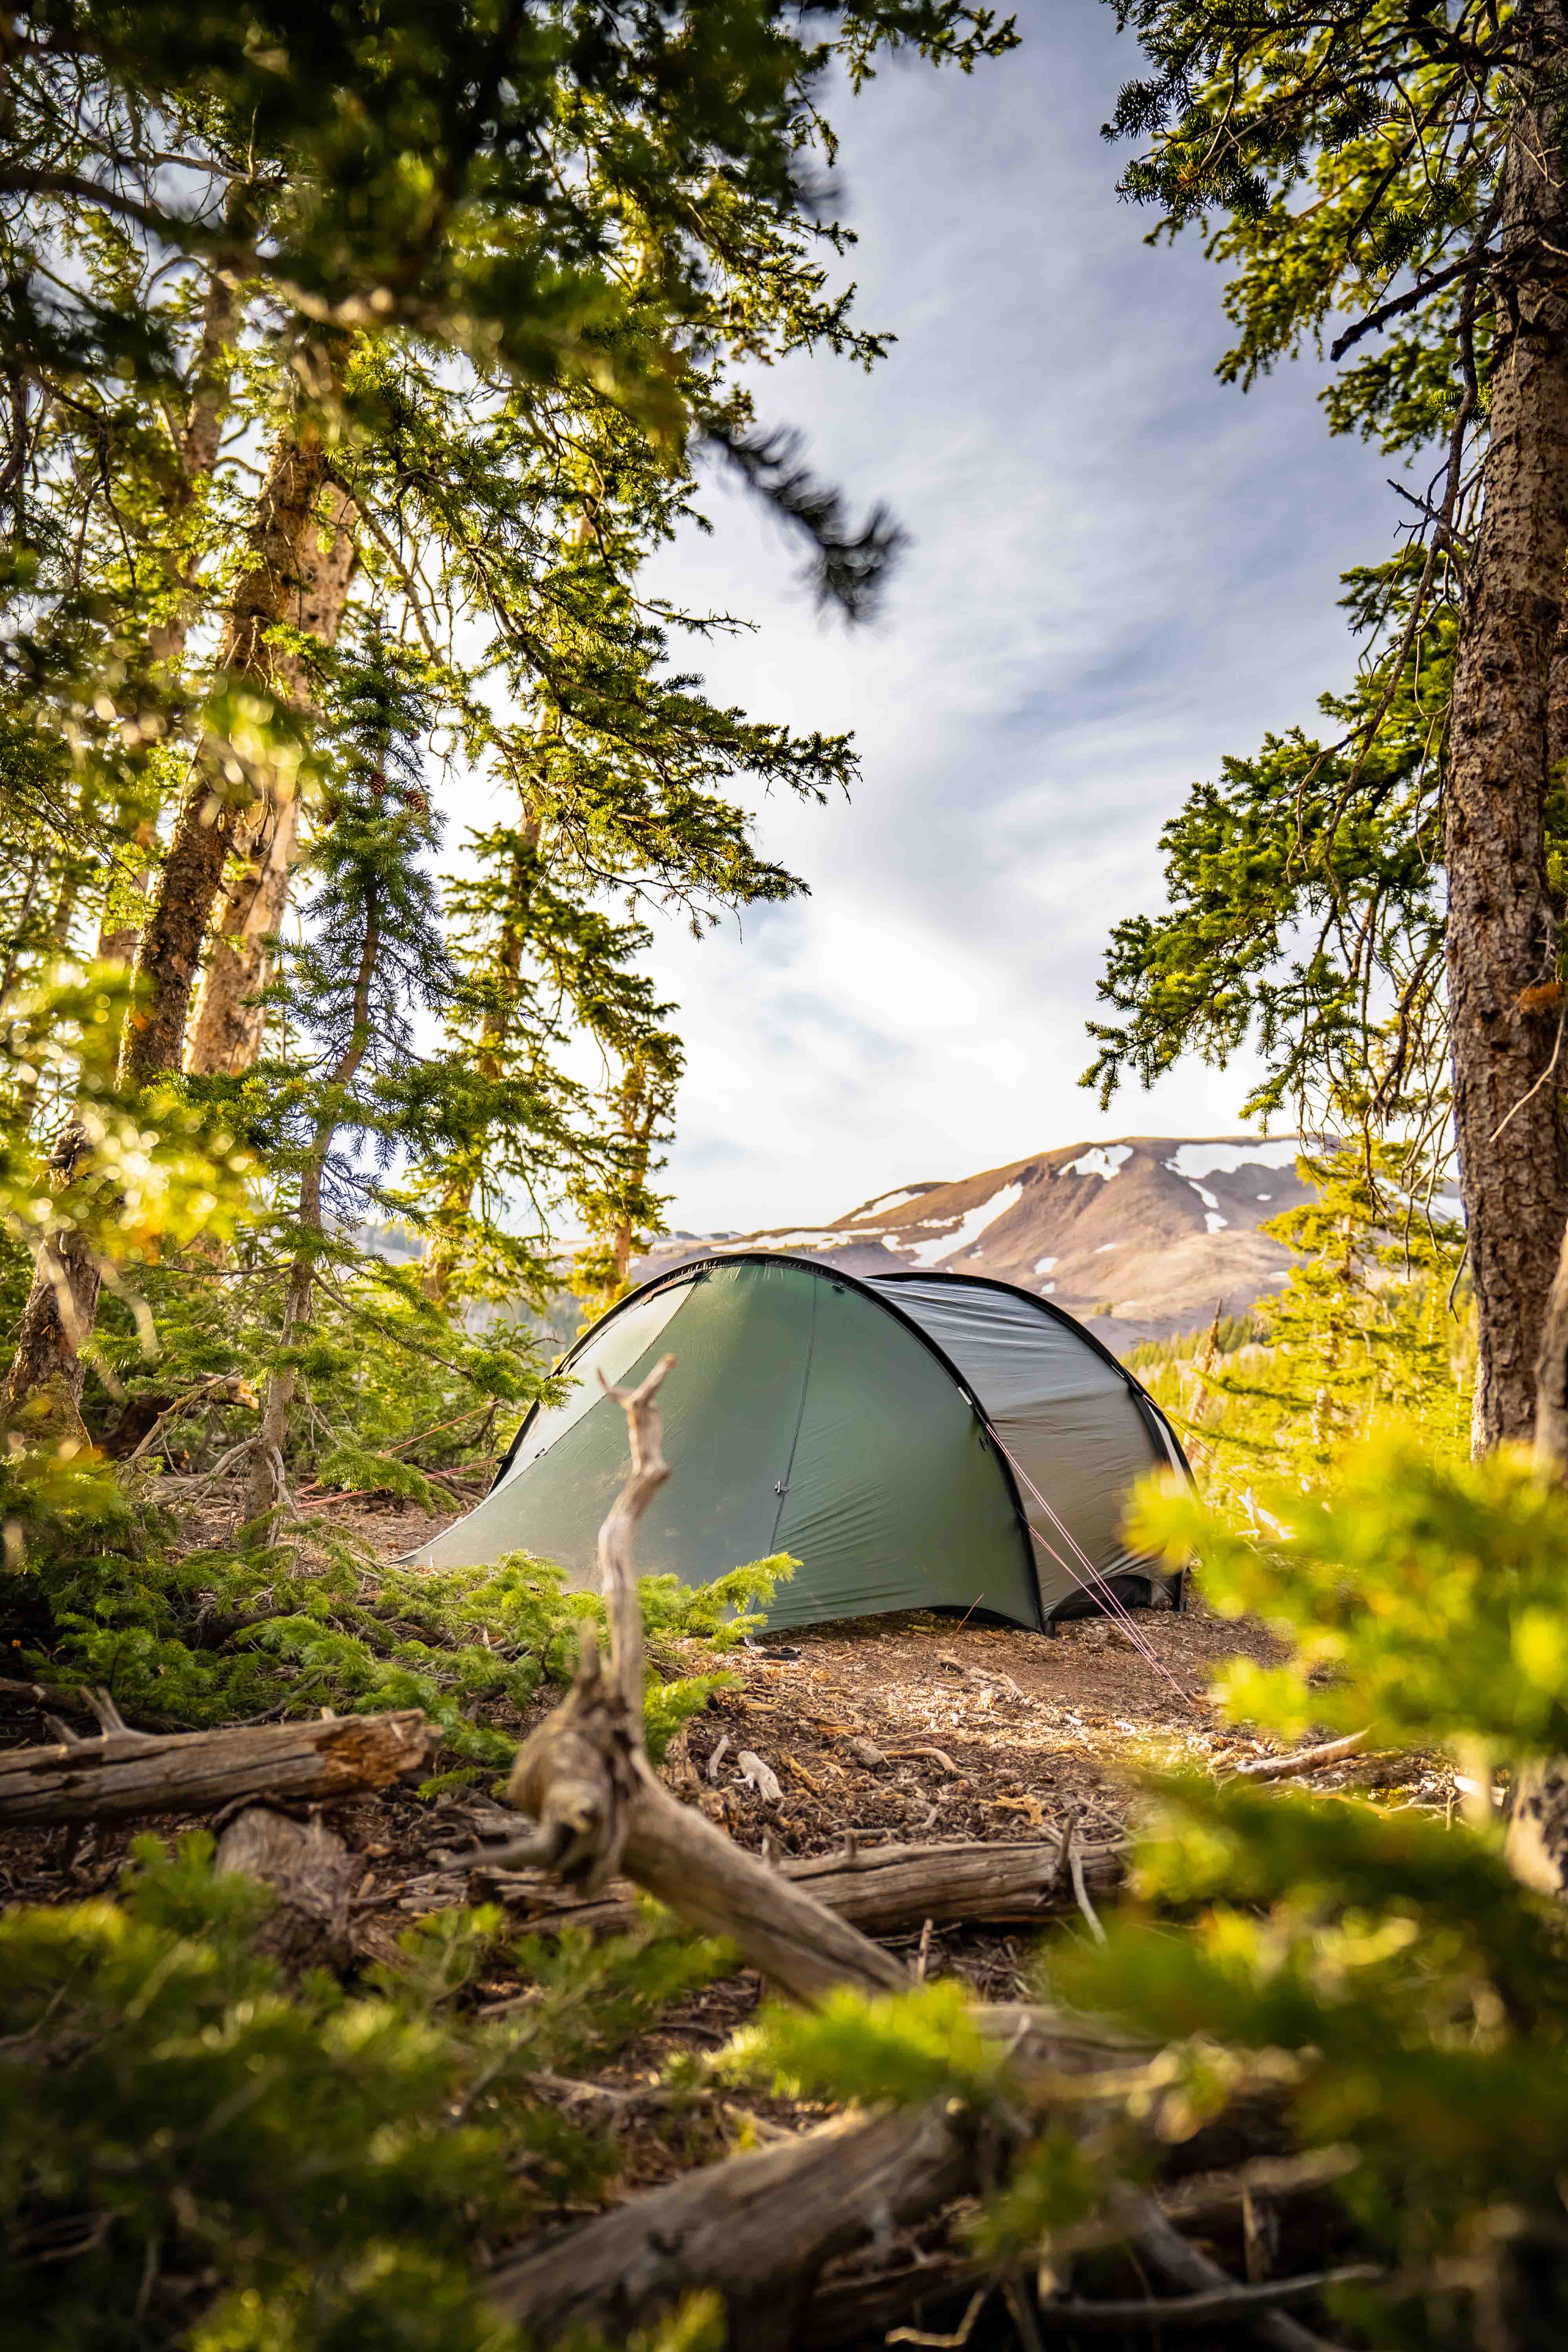
PROPER SITE SELECTION
Let’s begin our efforts of mitigating condensation with proper site selection. Regardless of the season or shelter in which you are camping, condensation can most certainly still occur with varying degrees. Understanding basic topography and how certain terrain features gather the cold air as it sinks through the night can allow you an upper hand. When selecting a site to position your shelter, look for areas that are elevated and ideally on dry substrate where available. These areas will exhibit less humidity from which to start and can often find a breeze that is otherwise missed. These breezes will assist with ventilation, which we will cover here shortly. Basically, choose to stay away from creek bottoms, depressions, drainages, wet grass, lake shores, and other similar terrain features that act as cold sinks and naturally foster humidity. Leave those areas for the muskrats and waterfowl.
VENTILATION
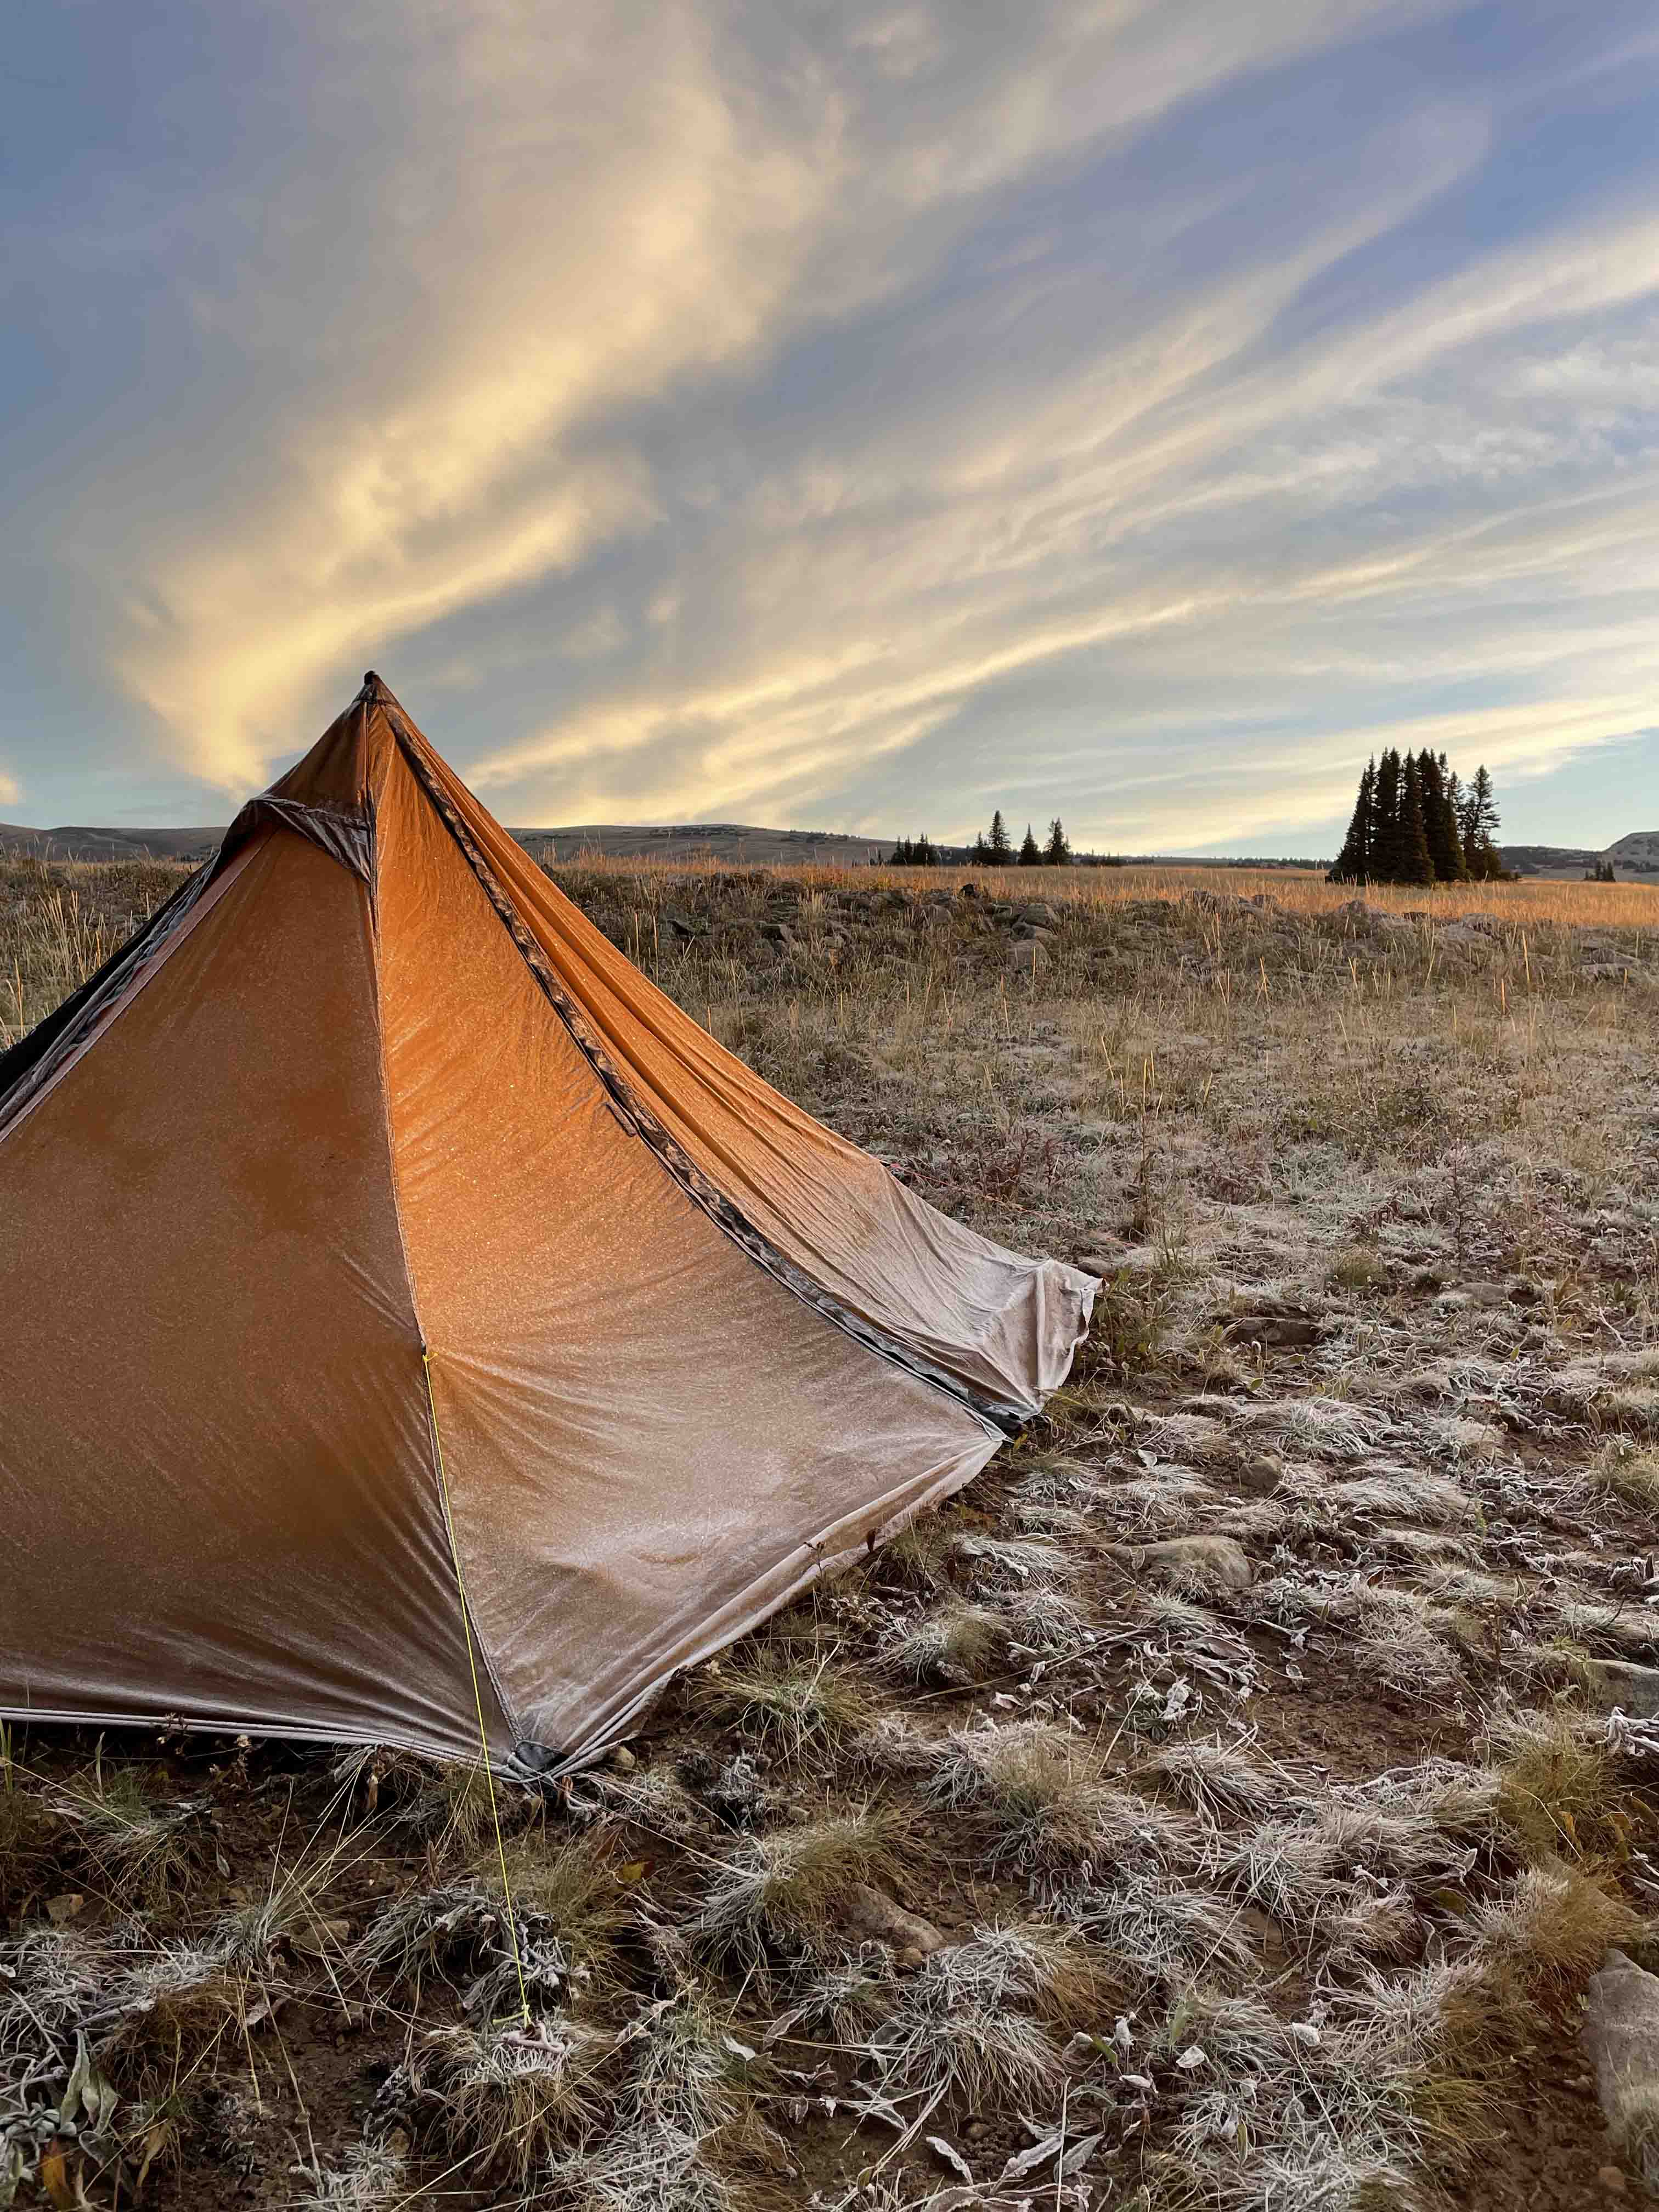
Ventilation is absolutely critical to mitigating condensation, and the more you have the better your odds at staying dry. In fact, ventilation is so critical that it can effectively mitigate condensation even when dry ground is unavailable as it allows for the warm, moist air to escape from within the shelter before it has the opportunity to condense overhead. Ensure you leave your mesh screens uncovered and your skirt or rainfly elevated above the surrounding soil. Battening the hatches, so to speak, can greatly encourage condensation. Don’t do it under most circumstances! When it’s time to turn in for the night, nestle warmly into your sleep system while allowing the passage of air through your shelter even when the breeze blows.
SHELTER DESIGN
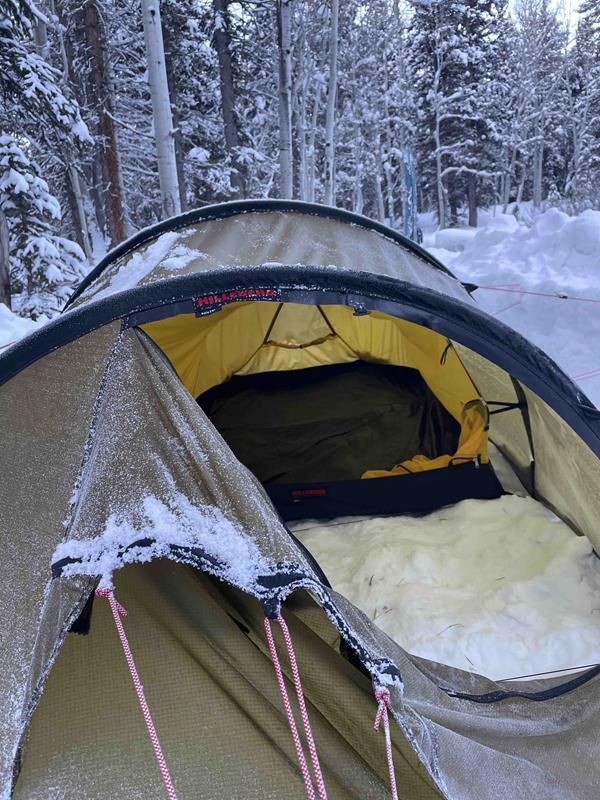
Shelter design in the form of double-wall construction can assist with mitigating condensation, too. Here, the process of condensation still takes place and the unfortunate beads of moisture still present; however, the unpleasantness remains out-of-sight and out-of-mind. The warm, moist air is allowed to pass through the inner wall to the outer wall with several inches of clearance in between. As that warm, moist air touches that outer wall and begins to cool to the point where water vapor becomes a liquid, the occupant within the shelter couldn’t really care any less. If you know you’ll be operating in wet climates, extreme cold temperatures, and the added weight of a double-wall shelter isn’t a significant factor, consider this technique in your future endeavors.
MAKING THE DIFFERENCE
In summary, a little knowledge and technique can make the difference whether it’s an overnight stay or a 10-day adventure when it comes to mitigating the unwanted companion that is condensation. Down sleeping bags and clothing can take time to dry out, and that time could be spent glassing with hot coffee in hand. Nobody enjoys having their clothing and gear saturated with moisture before ever emerging from the shelter to start the day ahead. Consider shelter design beforehand and whether there’s a wiser choice to be made, attempt to position your shelter away from natural cold sinks and sources of humidity, and when all else fails, ventilate! Fair winds and conditions to you and your adventures that await.
Have a gear-related question we may help you with? Contact us at GearFool.com and our team of Gear Experts would be happy to help.