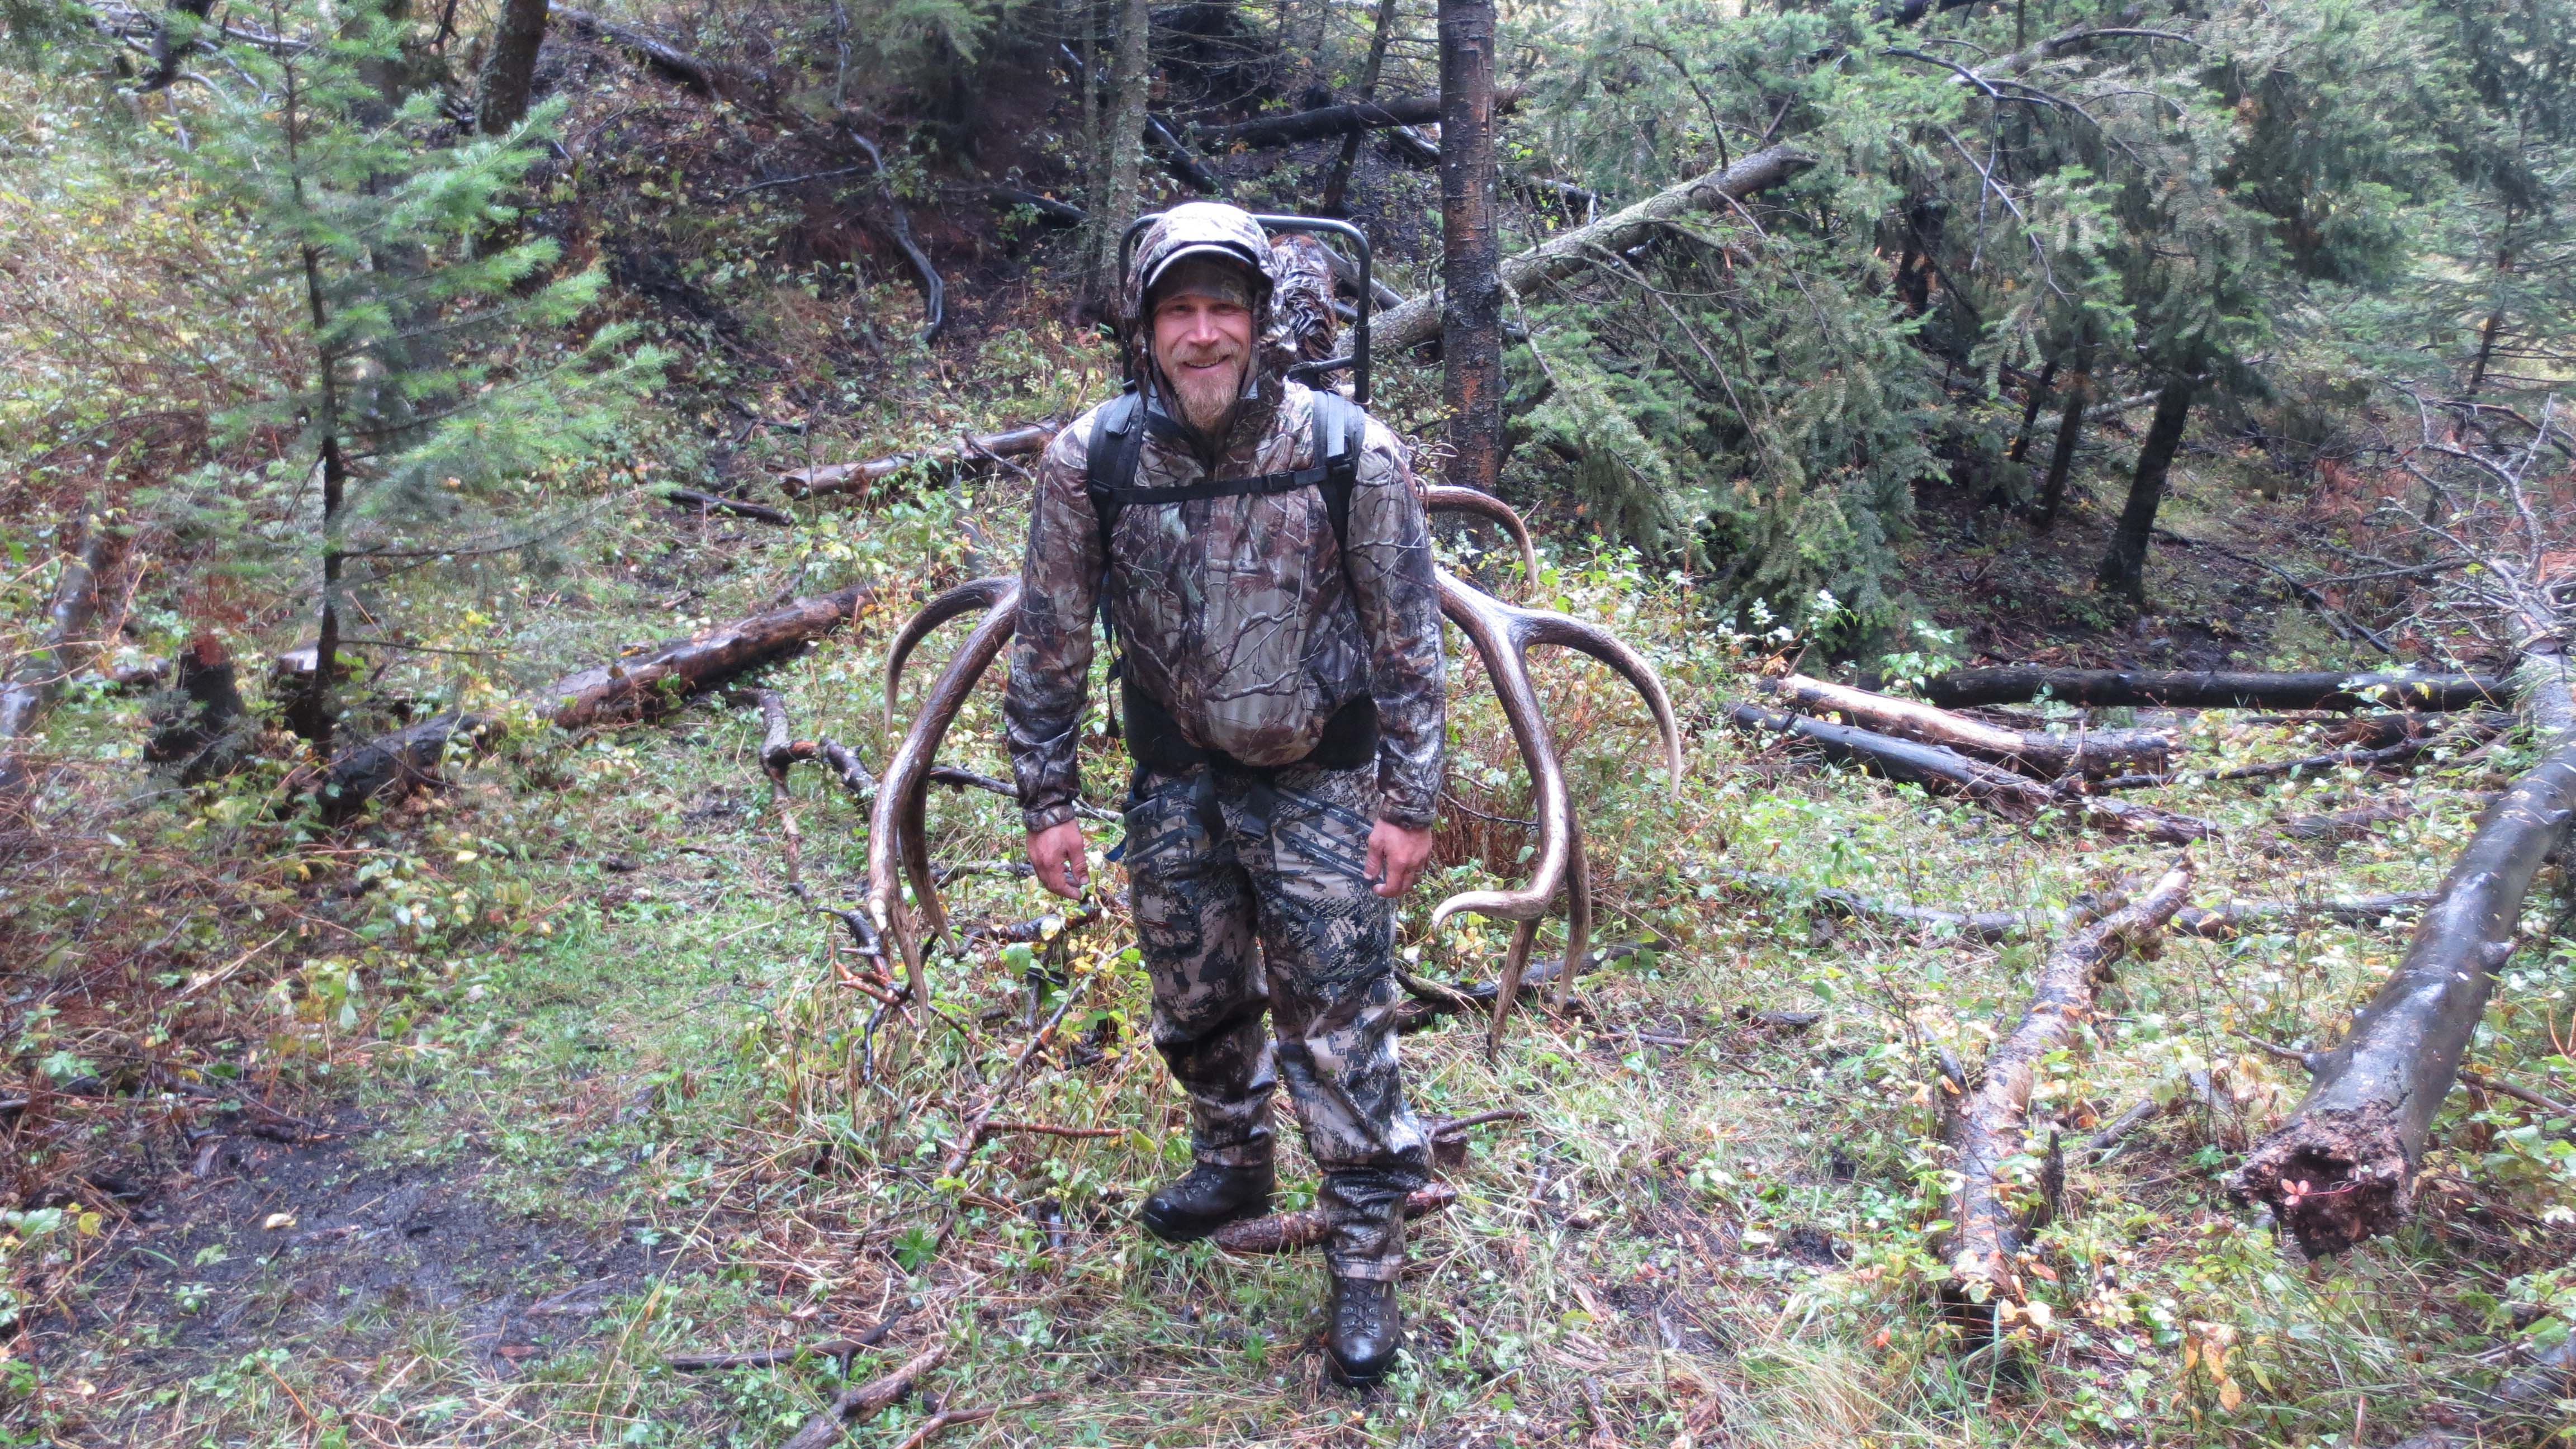
Many of us find ourselves hunting a little further off the beaten path each year as we try to minimize hunting pressure and maximize our potential of turning up more game or an older age class animal. While hunting deeper may have its advantages, it comes with its disadvantages as well. One of the biggest of these is the challenge of getting your harvest out of the backcountry. Standing over an elk harvested miles away from your truck can be a bittersweet feeling. We all enjoy the sweet balm of success in a harvest, but the work involved in getting an animal the size of an elk off the mountain can be a monumental task. We owe it to ourselves and the animal to ensure our hard-earned table fare actually makes it to the table and doesn’t spoil along the way. Fortunately, with proper precautions and care in the field, you may have more time than you think to get your meat from your kill site to the freezer.
In order to understand the proper measures to take that will extend the shelf life of your harvest in the field, its best to understand what conditions you are trying to avoid that will lead to an acceleration of meat spoilage. Spoilage is caused by the infection and subsequent decomposition of meat by bacteria, which are borne by the animal itself, the people handling the meat, and foreign matter, such as bugs and their larvae, hair, dirt, etc. Simply put, your biggest enemies are the conditions that promote bacterial growth and ultimately shorten the amount of time you have to get your meat out of the field for processing. While we can’t control some of the conditions we are up against in the field, we do have control over things that can be done to minimize them and the effects they have in promoting bacterial growth and spoilage. The job of safeguarding against the most harmful of these conditions can be boiled down to three main tasks – keeping the meat clean, cool, and dry.
It is important to keep the meat clean while breaking down the animal to minimize contact and spread of spoilage bacteria. Animals don’t always pick the best places to be worked on when they expire. If a cleaner working site exists nearby and it is possible to move the animal to that location, it is usually worth the effort. Working from a flatter area or one with more grass is a lot quicker and cleaner than a sidehill or in the dirt. A tarp is a great buffer to use between the animal and the ground. When skinning begins, minimize cuts to the meat as each will open a channel for bacterial growth. Try to prevent any hair and dirt from contacting the meat as you’re working. However, there will inevitably be some, so removing as much as possible before placing the meat in game bags is an important step. Spend extra time cleaning wound trauma by removing any visible shrapnel and as much bloodshot as possible. Bloodshot prevents the meat’s moisture content from dissipating quickly and creates ideal conditions for bacterial growth.
If that’s not enough to contend with, at 50 ° or warmer, there’s another problem that will show up. 50 ° seems to be the exact temperature that blow flies and other egg-laying insects begin to join the party in their search of a place to lay their larva. For obvious reasons, working quickly when the flies are out becomes even more important.
If extreme bacterial conditions are present, citric acid can be applied to shock the meat surface and any bacteria that exist. Mixing powdered citric acid with water in a spray bottle and spraying down the entire surface area of the meat is an effective way to retard bacterial growth. A good ratio is 1 oz. citric acid per 1 quart of water. Apply it again in 48 hours if warm conditions persist. The overall goal of this first task is to get the meat from the carcass and into the game bags as quickly and cleanly as possible.
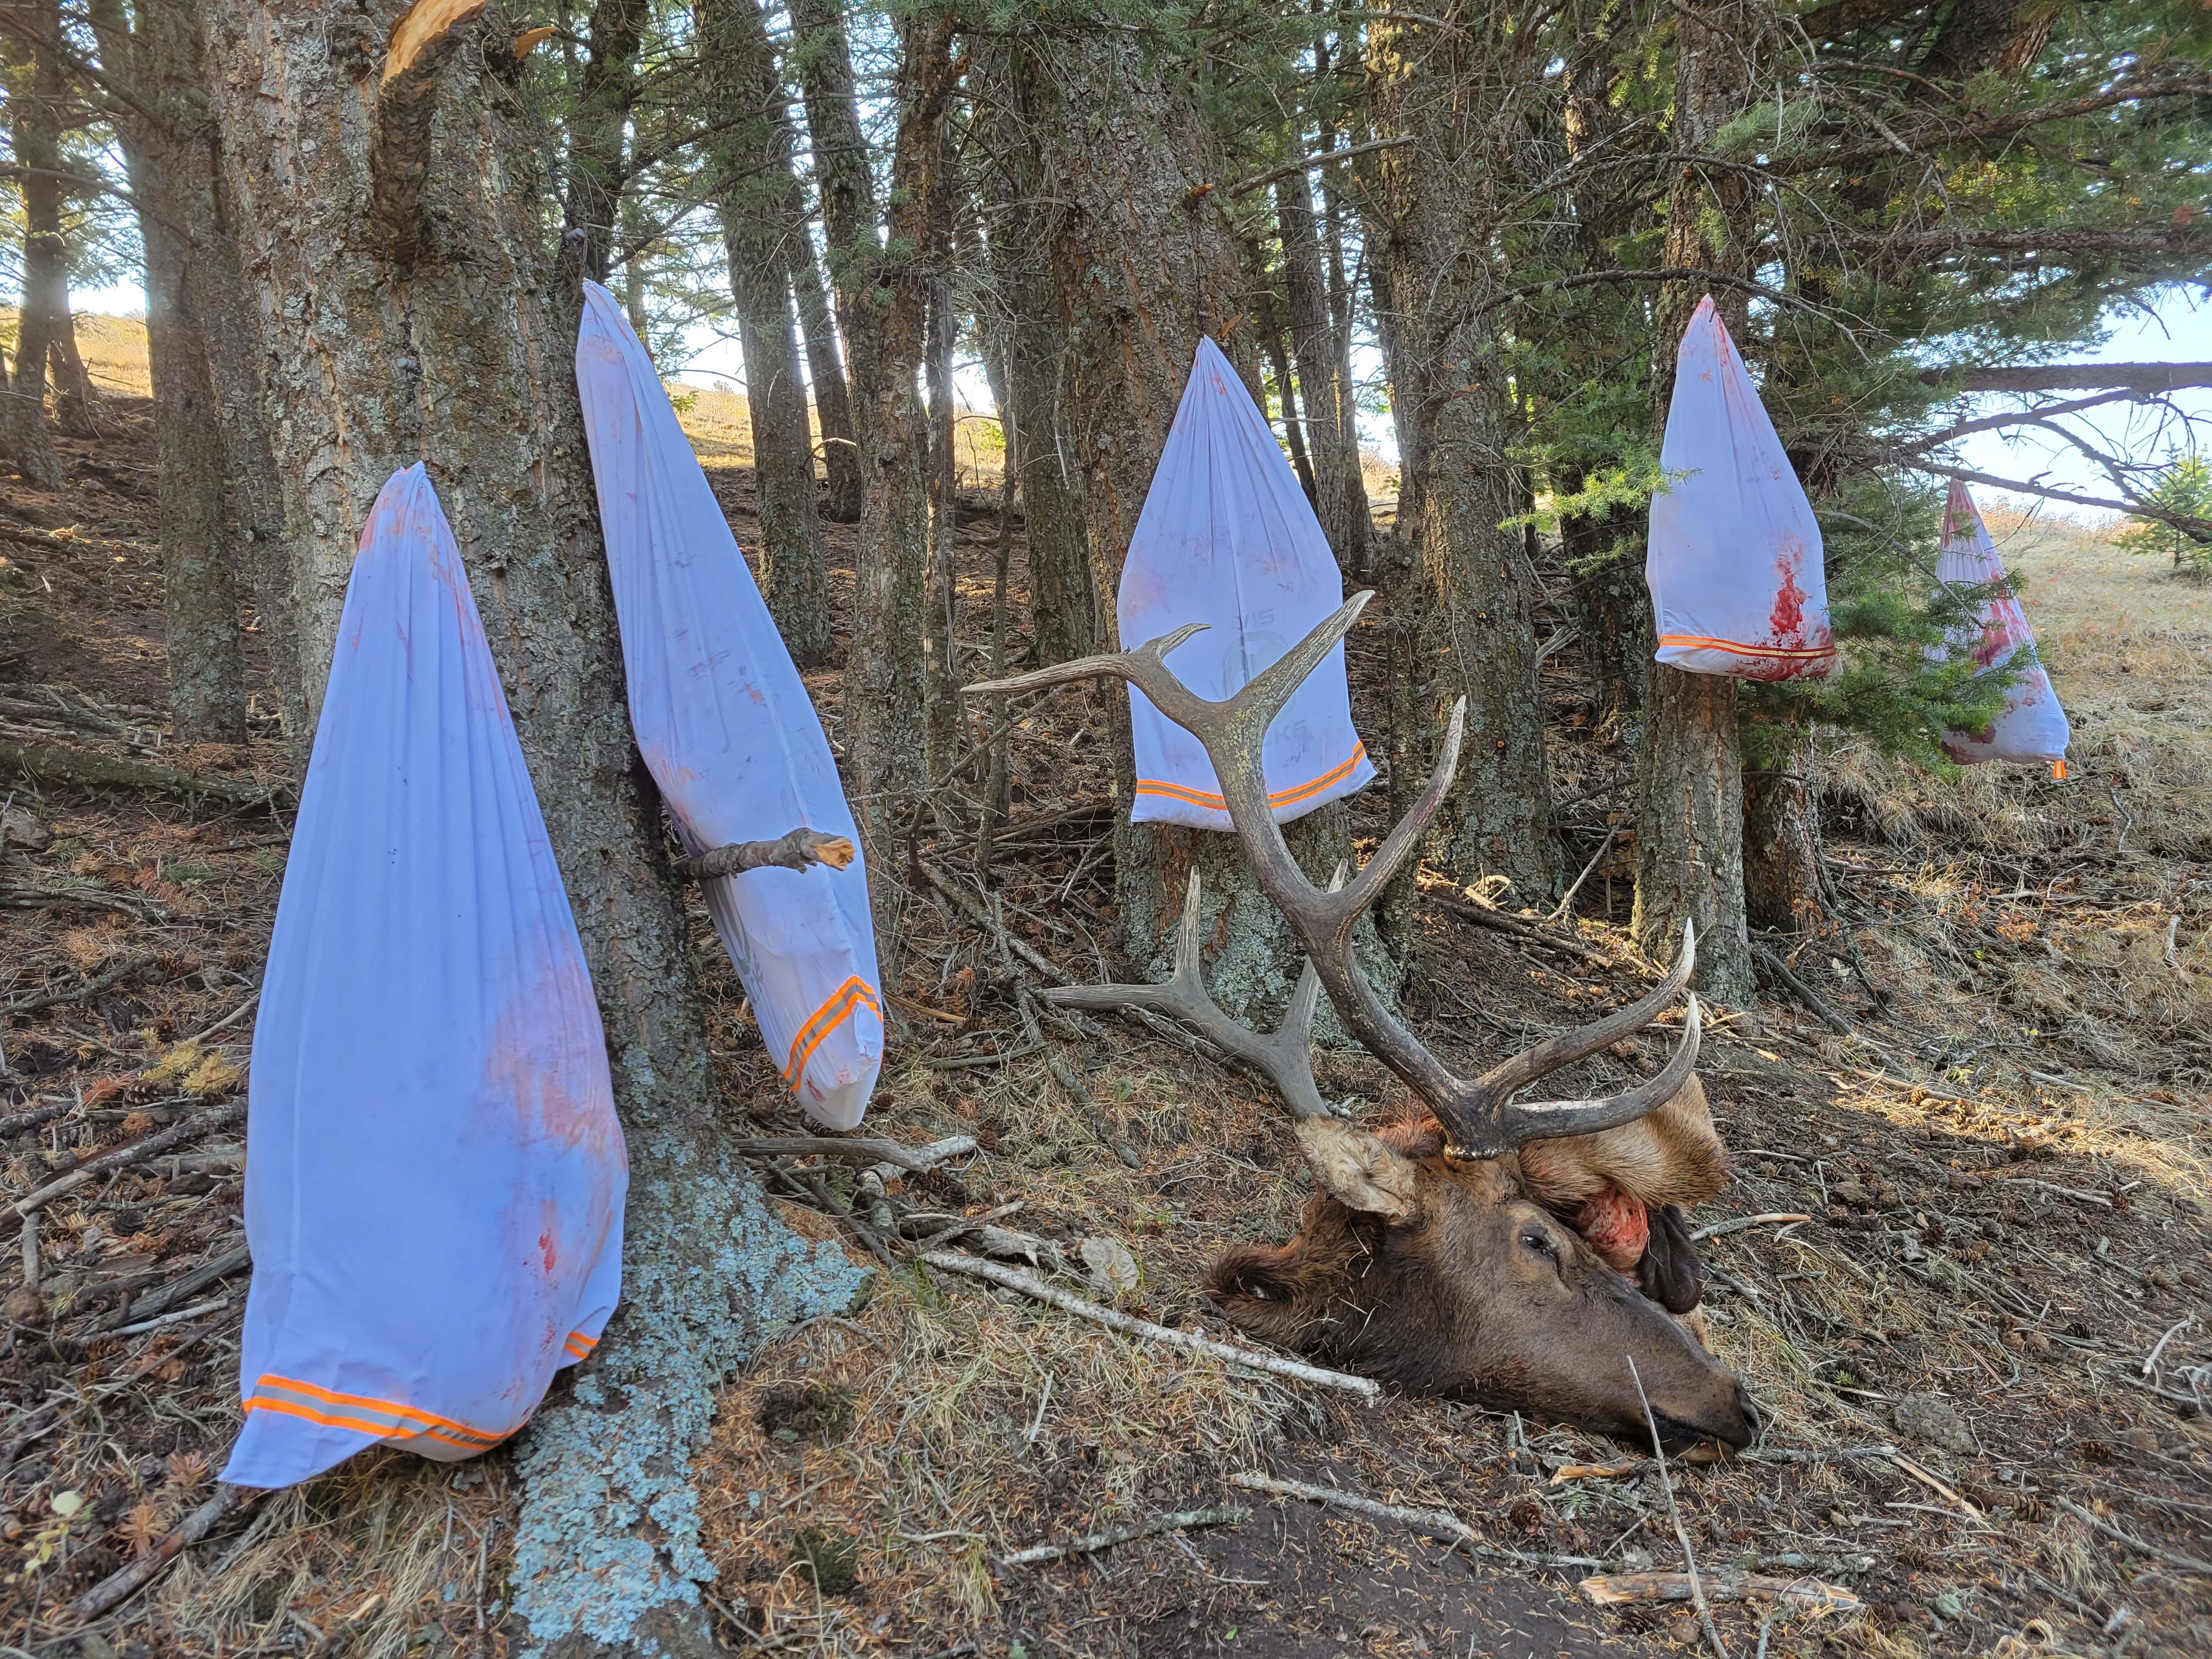
Choosing an ideal cache placement plays a big part in protecting meat from the elements. How and where meat is stored will have a big impact on the condition of it over the span of multiple days. When looking for a cache site, the biggest priority is finding the coolest possible nearby location. This is ideally in a north- facing timbered draw in a place that will provide shade throughout the course of an entire day. Aside from shade being cooler, it is also important because UV exposure excites cellular ions and speeds up the autolysis process. If limited shade is available or you are faced with rain or heavy dew, use a tarp to protect meat, but do not restrict airflow to it. Once a cache site is selected, meat should be hung from trees or a meat pole. Hanging meat will allow for better blood and moisture loss along with providing better airflow. Avoid a ground cache when possible, but if you must use one, keep loft, shade, and airflow in mind.
To effectively begin the cooling process, a quick recovery and breakdown of the animal is an important first step. Even in cooler weather, meat stands a much greater chance of spoiling if it is not cooled quickly than meat that is allowed to cool quickly in warmer weather. Once the meat is off the carcass and into game bags, the next job is to keep it cool. The reason it is important to keep the meat cool is to slow the growth of bacteria. The commercial meat industry defines cool as chilling the meat to 39 ° within four hours post slaughter and then maintain a temperature of 39 °-43 ° for up to 12 days. We don’t have control over the weather we have to contend with post-harvest, but the ideal field temperatures are highs below 50 ° and lows above 32 °. Under this scenario and assuming the meat has been properly cared for, it will be in good shape for seven to nine days. However, those conditions are seldom a reality when hunting in September and October. Realistic temperatures that time of year will often be around 75 ° highs and 40 ° lows. Although, I have personally had no issues with leaving meat in the field for three to five days within that temperature range. Again, this assumes proper meat care and cache placement after a quick harvest recovery and cooling process.
If you are working in extreme heat or after a long harvest recovery timeline, bone sour becomes a possibility. Bone sour begins after 8-10 hours if the bone’s temperature has not dropped below 60 °. The biggest threat to bone sour is the femur. The early warning system is your nose. If it turns sour, debone the entire hind quarter immediately and trim away half an inch border around the bone. If possible, I prefer not to debone the hind quarter until after the rigor mortis process is complete, which usually takes around72hours.Myexperiencehasbeen that the steak cuts end up being chewy when they’ve come off the bone too early. That being said, protecting the meat from bone sour is a bigger priority than how tender my steaks end up.
Another way to cool meat in a hurry, is to place loaded game bags into construction grade garbage bags and submerge them in a cold creek or lake. When using this method, make sure no bacteria-rich water gets into the garbage bag and immediately remove the meat from the plastic bags after pulling them from the water. Limit submersion to short periods. You can also keep meat cool by wrapping a sleeping bag around it in the morning. This will help keep the preceding night’s cool air in and slow warming as daytime temperatures increase. Make sure to remove the sleeping bag in the afternoon to allow for air circulation and another dose of cool nighttime air to soak back into the meat.
The final task is to keep the meat dry as this will restrict the nutrients that bacteria need to thrive. The bottom line here is that wet meat plus warm weather equals bacteria. One without the other is somewhat surmountable, but a combination of each will spoil meat quickly. The key here is getting good airflow around the meat. By hanging the meat off the ground, you ensure the entire perimeter of the meat’s surface is exposed to any breeze that is present, allowing moisture to escape the meat more quickly. The more airflow you have, the better the outcome of the meat, but even a breeze of a few MPH makes a big difference in keeping meat dry.
A quality set of synthetic game bags will also help with the drying process. Breathable synthetic game bags provide a lighter, stronger, and more durable alternative to cotton fabric. They also dry quickly after getting wet and resist molds that contribute to meat spoilage.
While much more expensive than cheap cotton bags, they easily justify the difference in price and will last a long time if taken care of. I have been using the same set of 24" x 44" T.A.G. bags for elk and Shiras moose for over 10 years now, and they have performed well in every condition I’ve thrown at them. Another great thing about these bags is they are constructed with a drawstring that is strong enough to support the weight of a moose or elk’s hindquarter. This makes getting the bags off the ground and hung up a quick, easy job.
There are many possible conditions and scenarios to contend with between the time of the shot and the time that the animal is processed and safely in the freezer. Every situation is unique and will dictate different timelines that we have to work within to get our meat out of the field in good condition. It is up to us to understand how these conditions we are faced with will negatively impact our meat and use our best judgment in mitigating them as, or even before, they arise. Proper meat care is unquestionably a challenging and time- consuming process. Done properly, it can significantly extend the amount of time we have to get our harvest out of the field and ensure that final taste and volume will be the reward for our efforts along the way.